How I learned Timelapse Photography
When I’m not working on animated films like “How To Train Your Dragon”, or “Trolls World Tour - Trolls 2”, I spend my free time photographing architecture. These are my passion projects. It is the creative outlet that stretches my brain in a totally different way then when I’m working on animated films. The graphic nature of “design” colliding with a real world structure, and the challenge of capturing it a just the right moment with great lighting is what makes photographing architecture so exciting. However, for a while now I have been feeling like something was missing. I’ve been happy creating “moving images” at work, and “still images” in my free time but after a while I kept craving a way to combine the two.
In early 2019 I was photographing a sunset on the Canyon Junction Bridge in Zion National Park and I decided to setup my backup camera to capture a timelapse. I had tried a few timelapses in the past but was recently inspired by the youtube channels of Emeric Timelapse, Matthew Vandeputte, and the flow motion work of Rob Whitworth to name a few. All amazing timelapse and hyperlapse photographers and something about their work inspired me to give it a try. After seeing what I captured I was completely hooked and I needed to explore this combination of photography and motion more deeply.
I decided to make a short film.
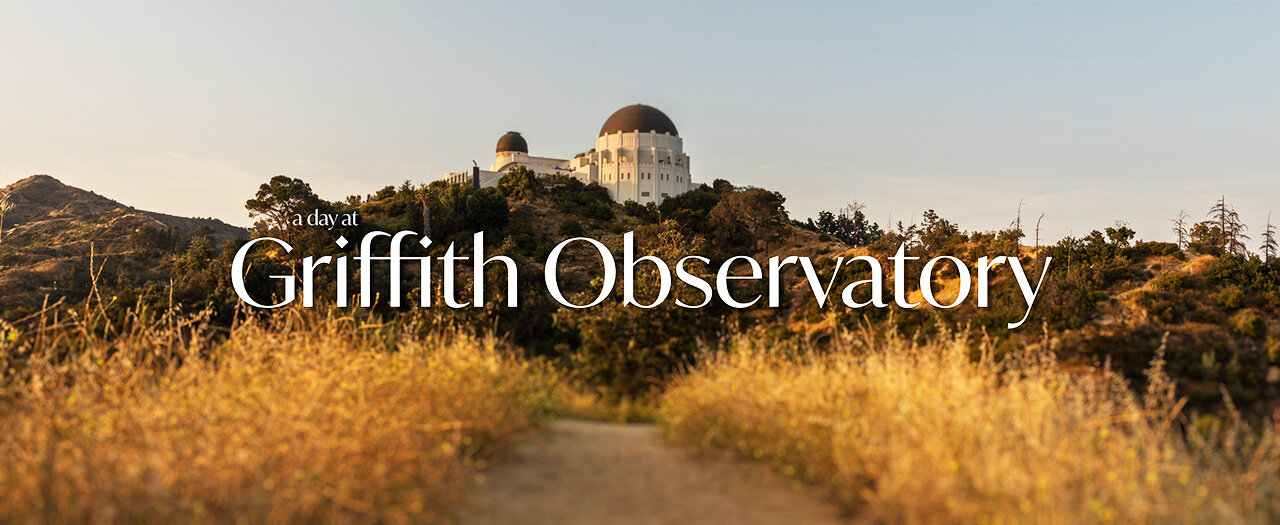
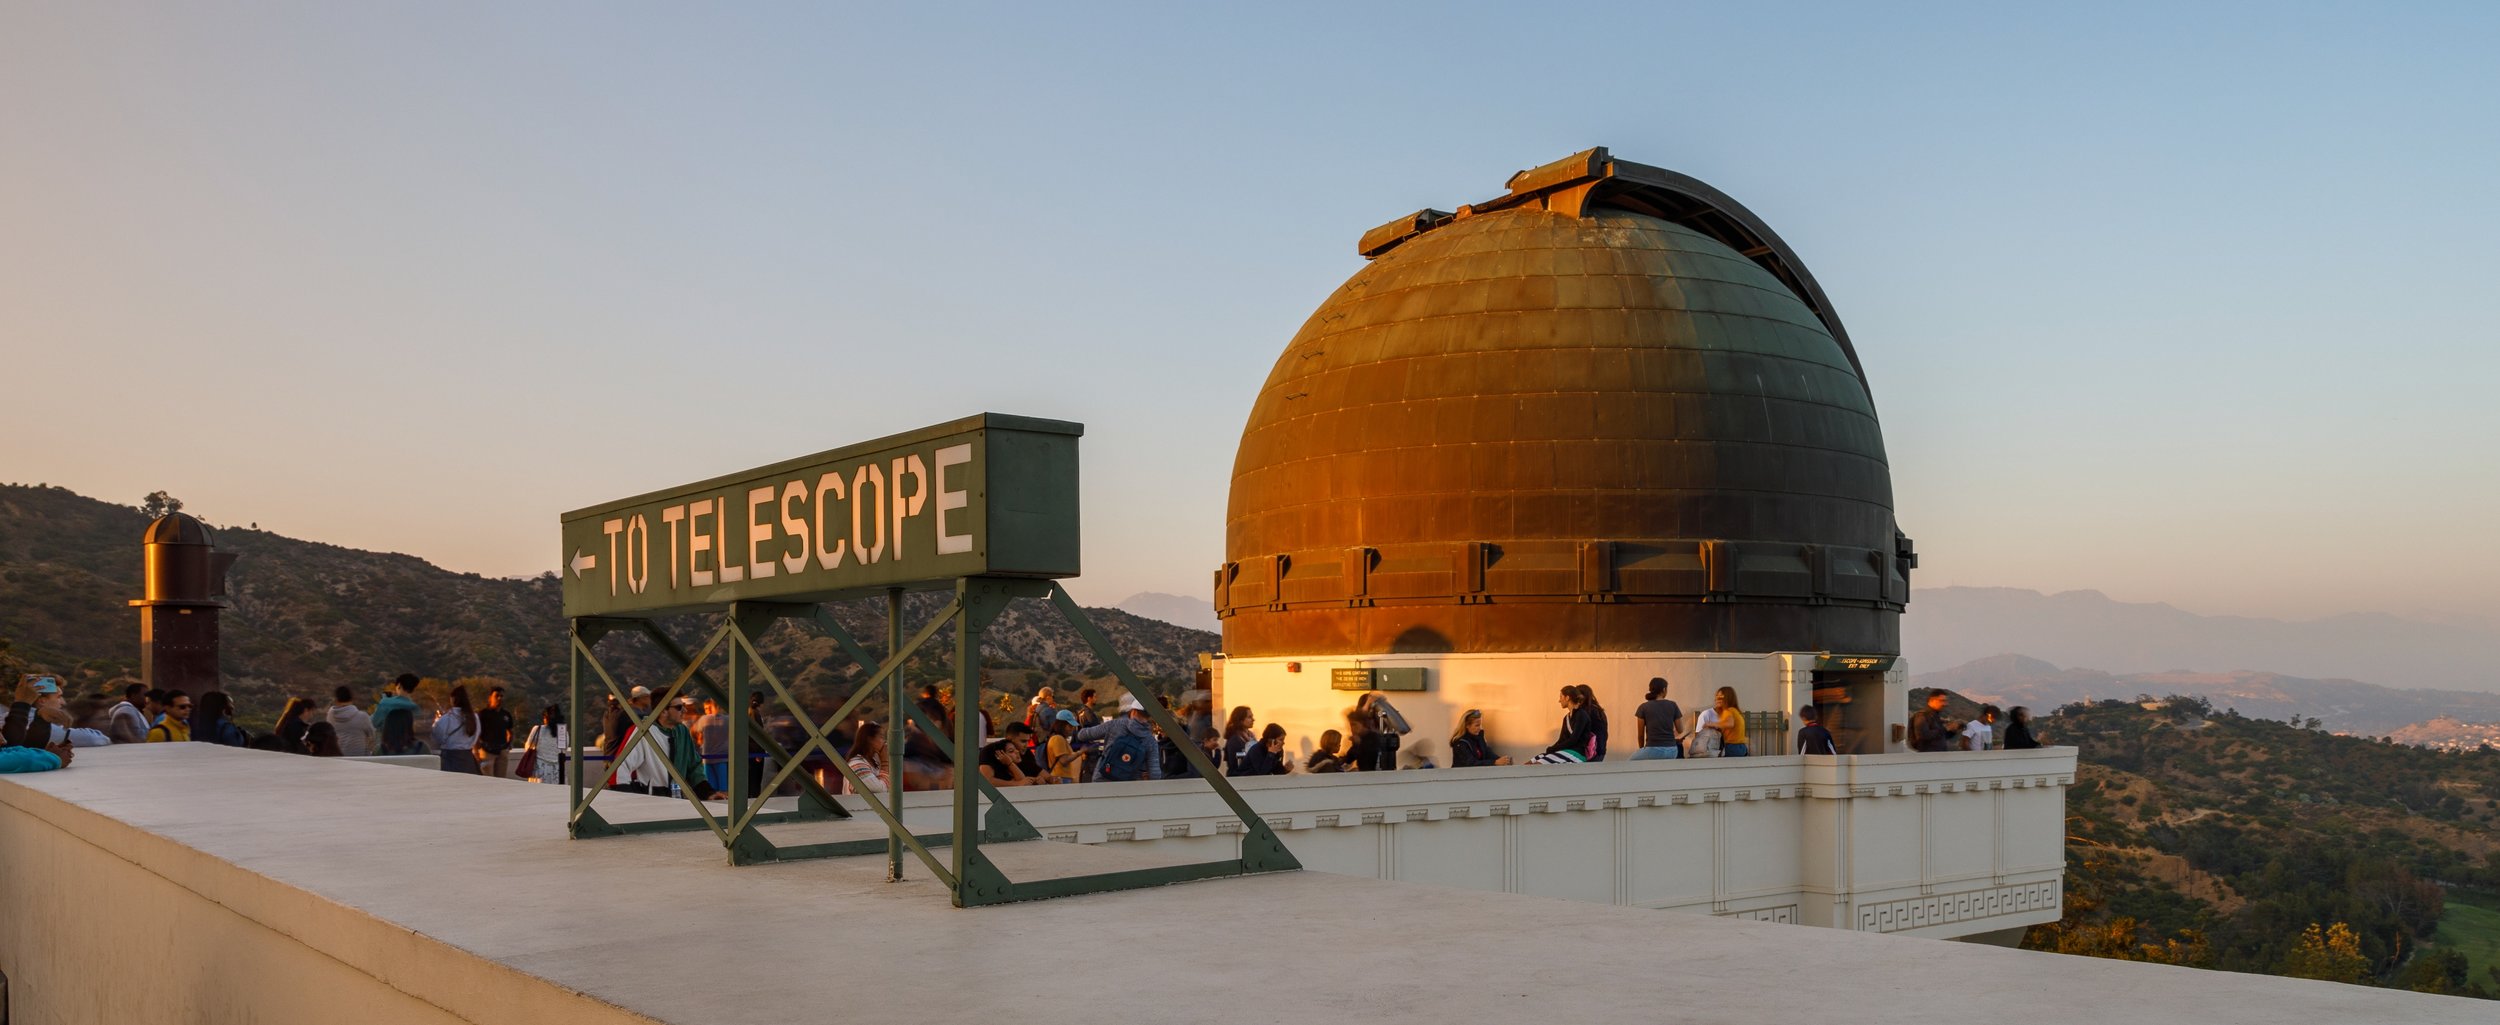
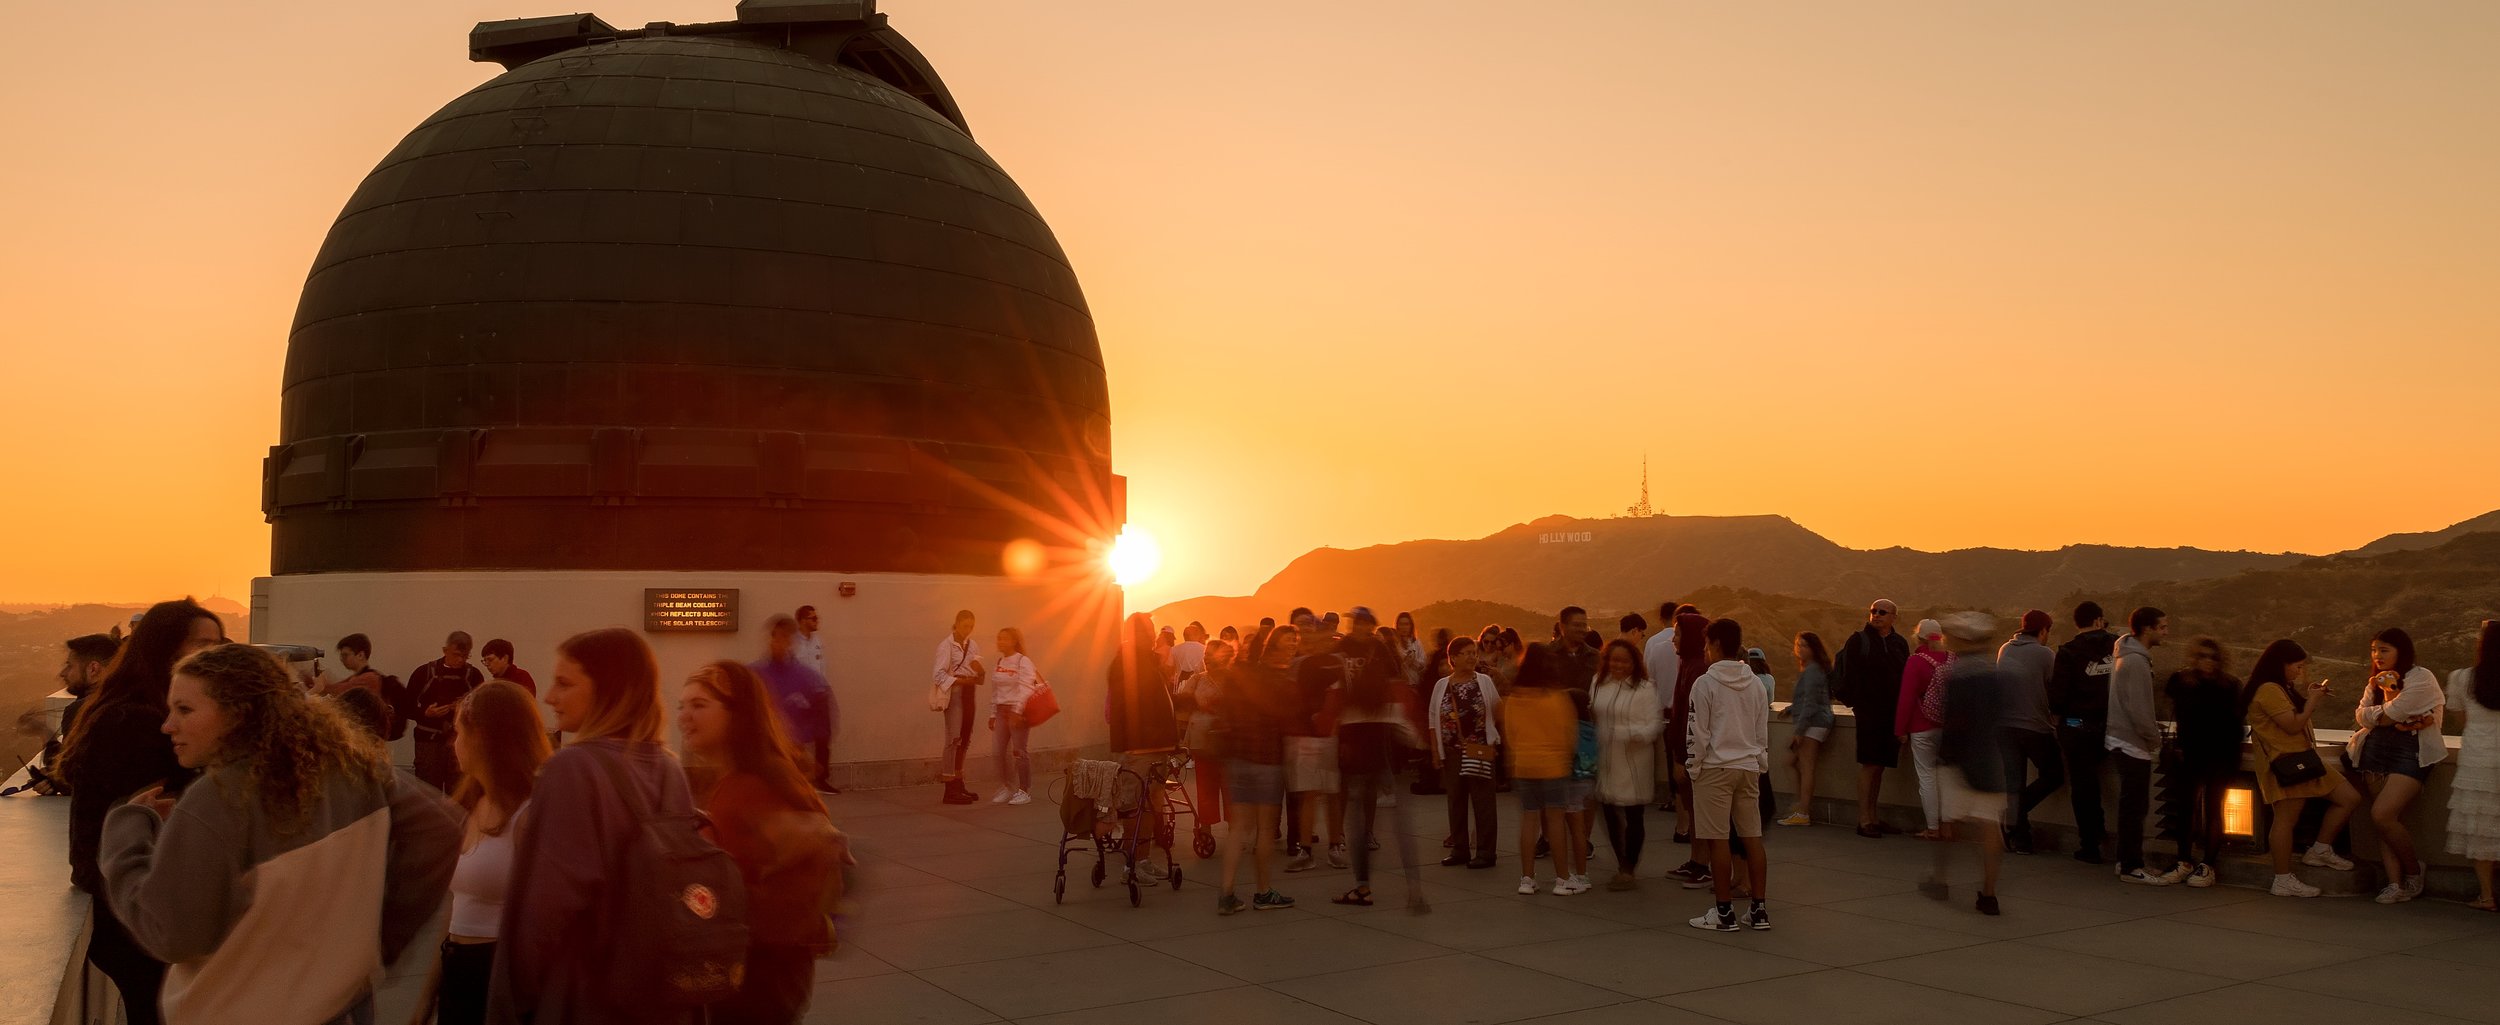
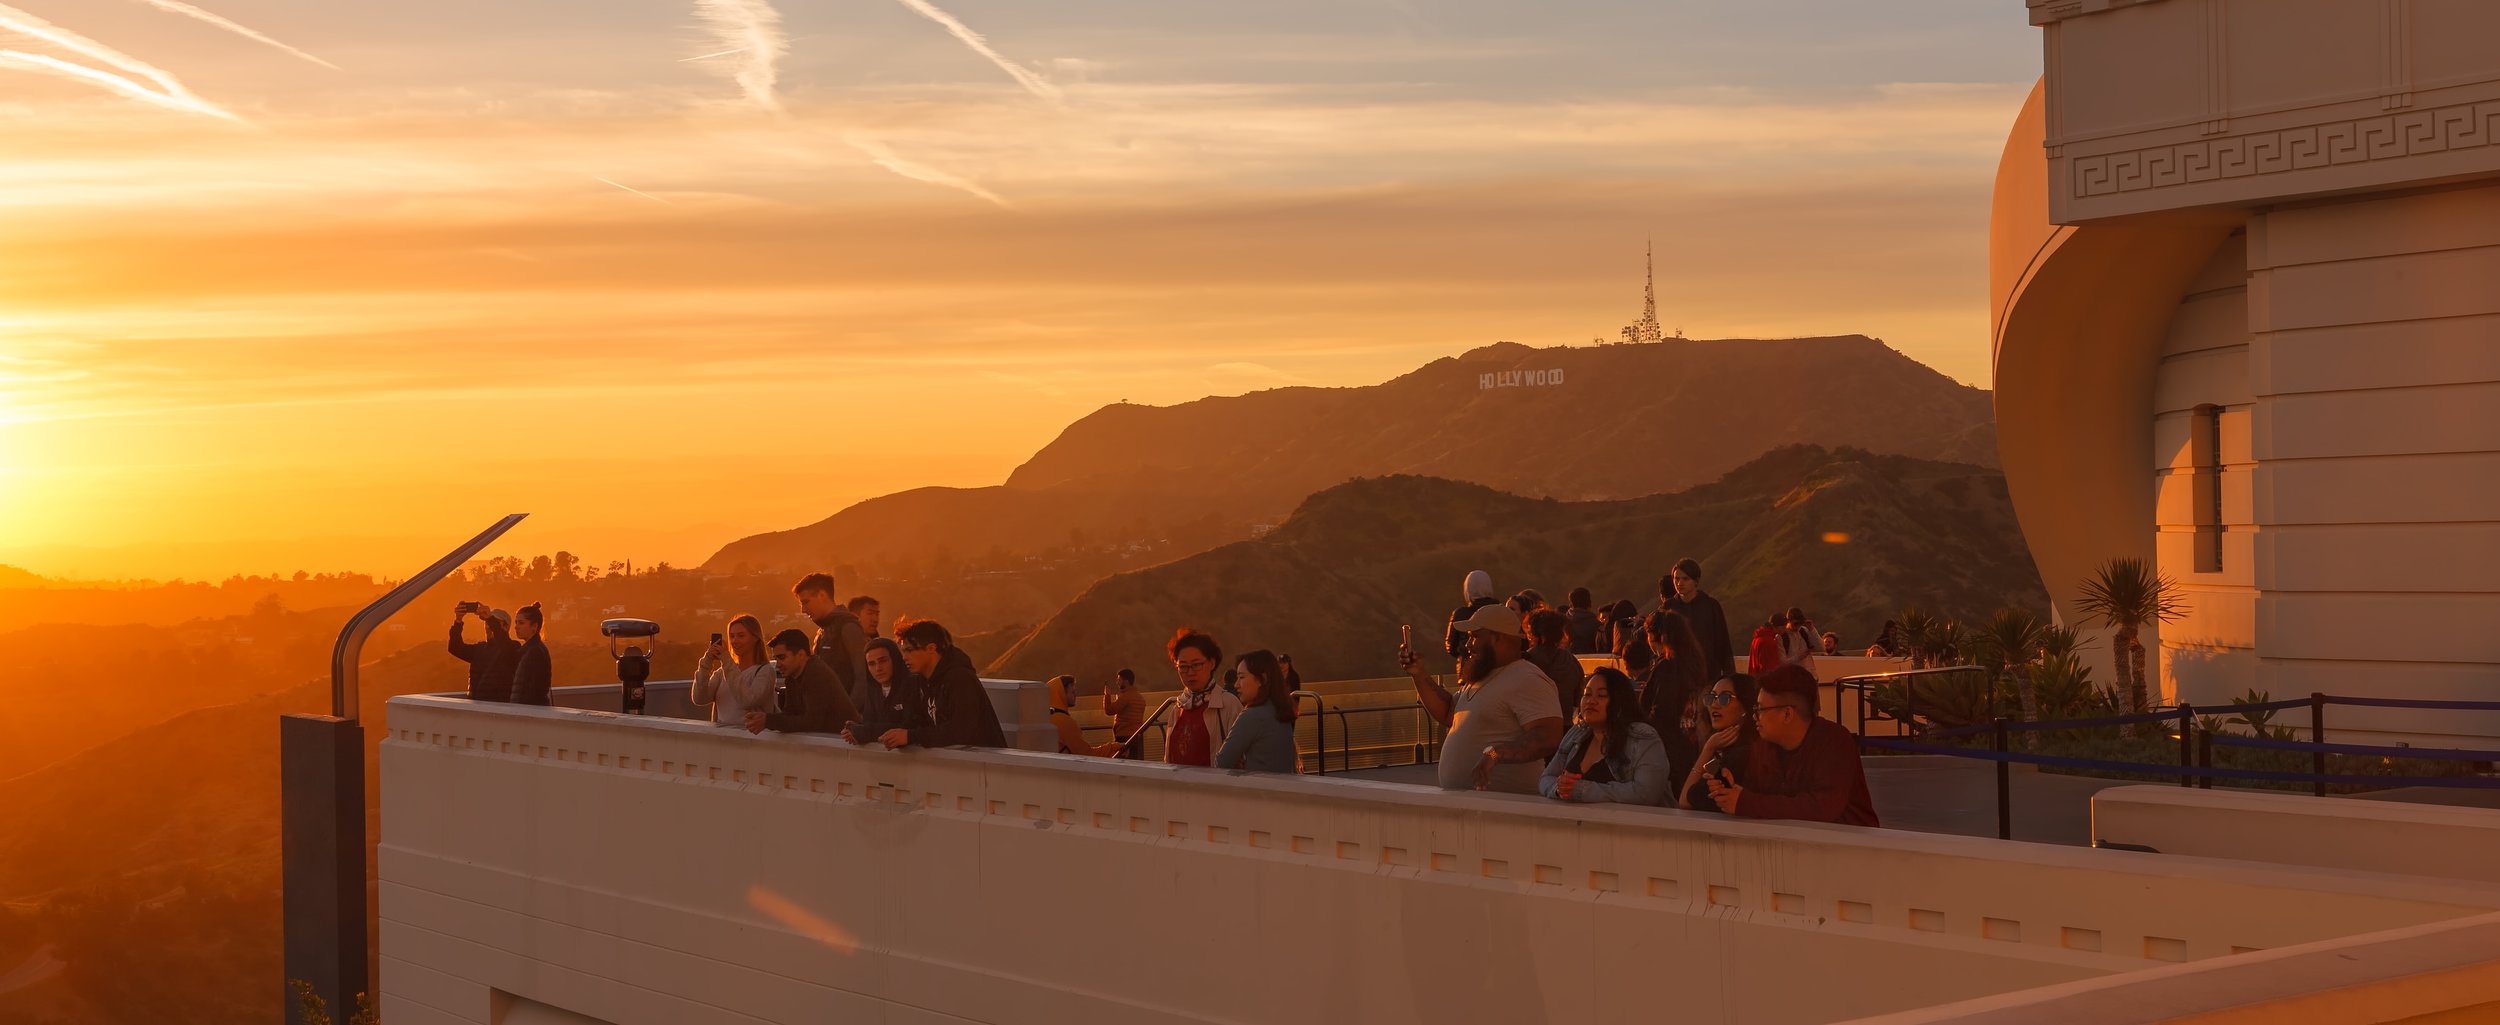
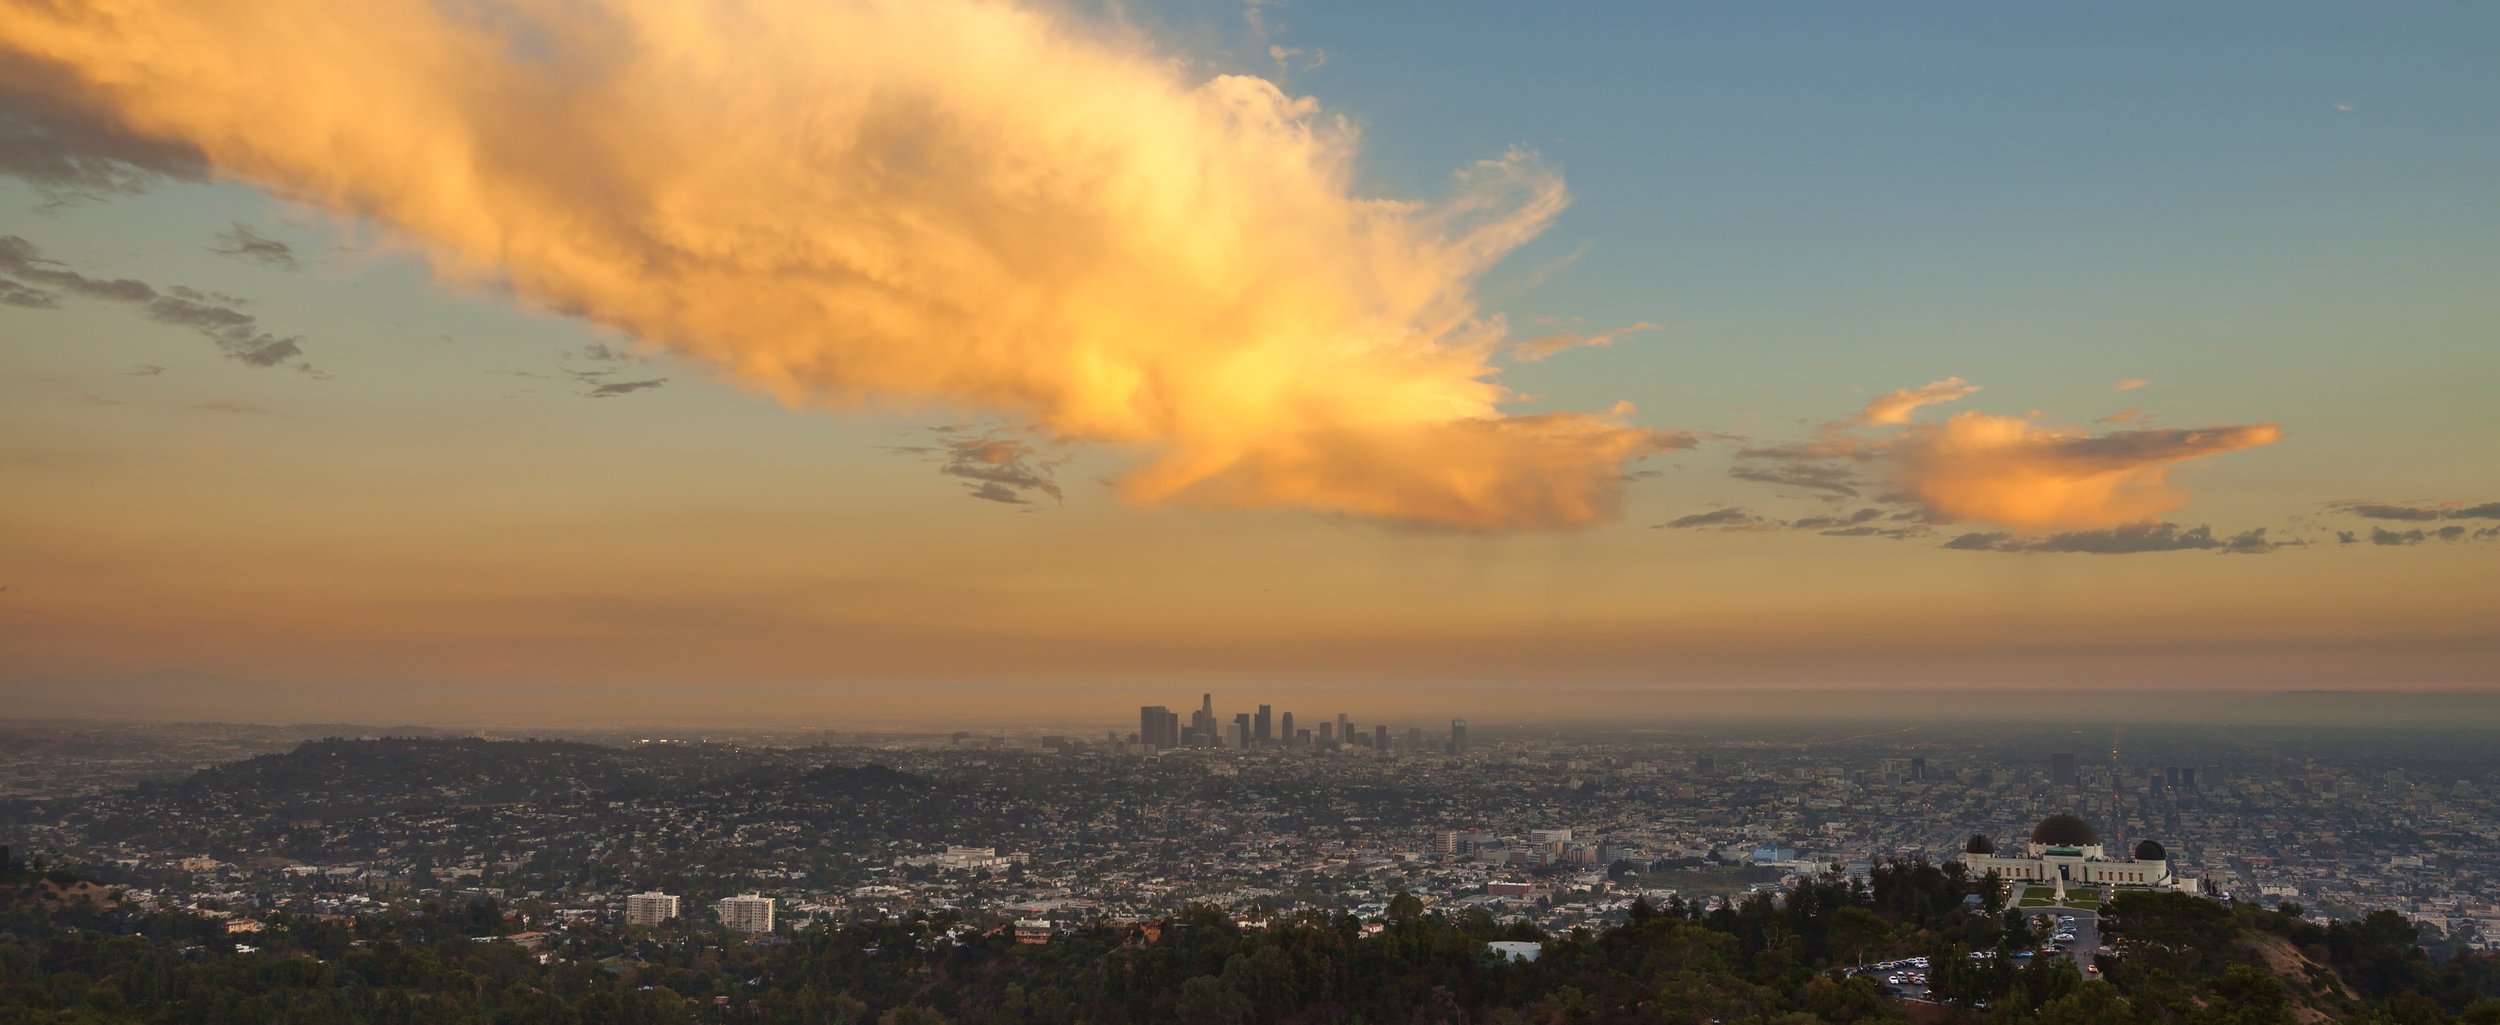
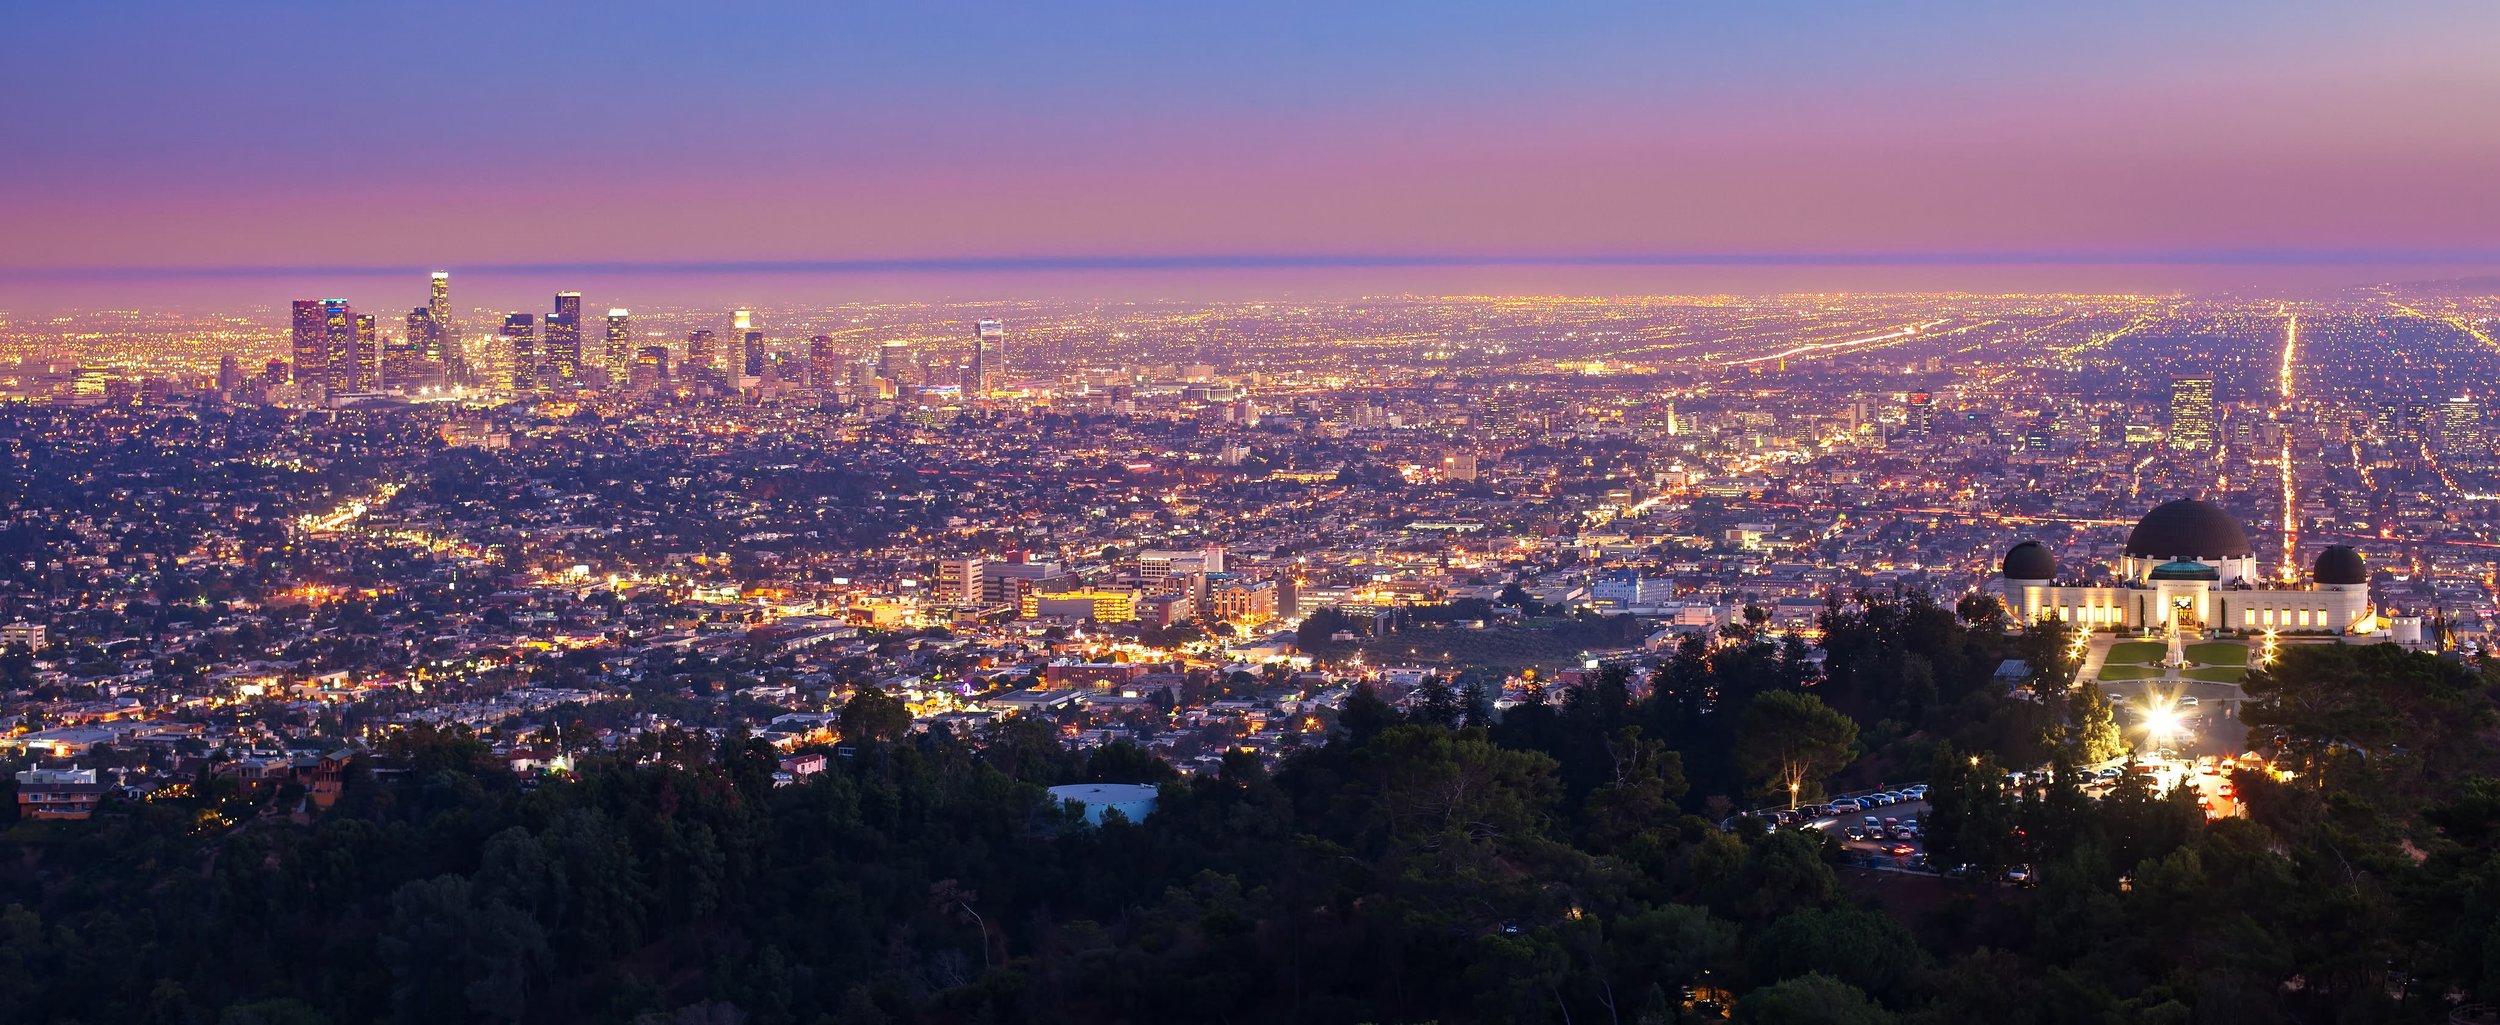
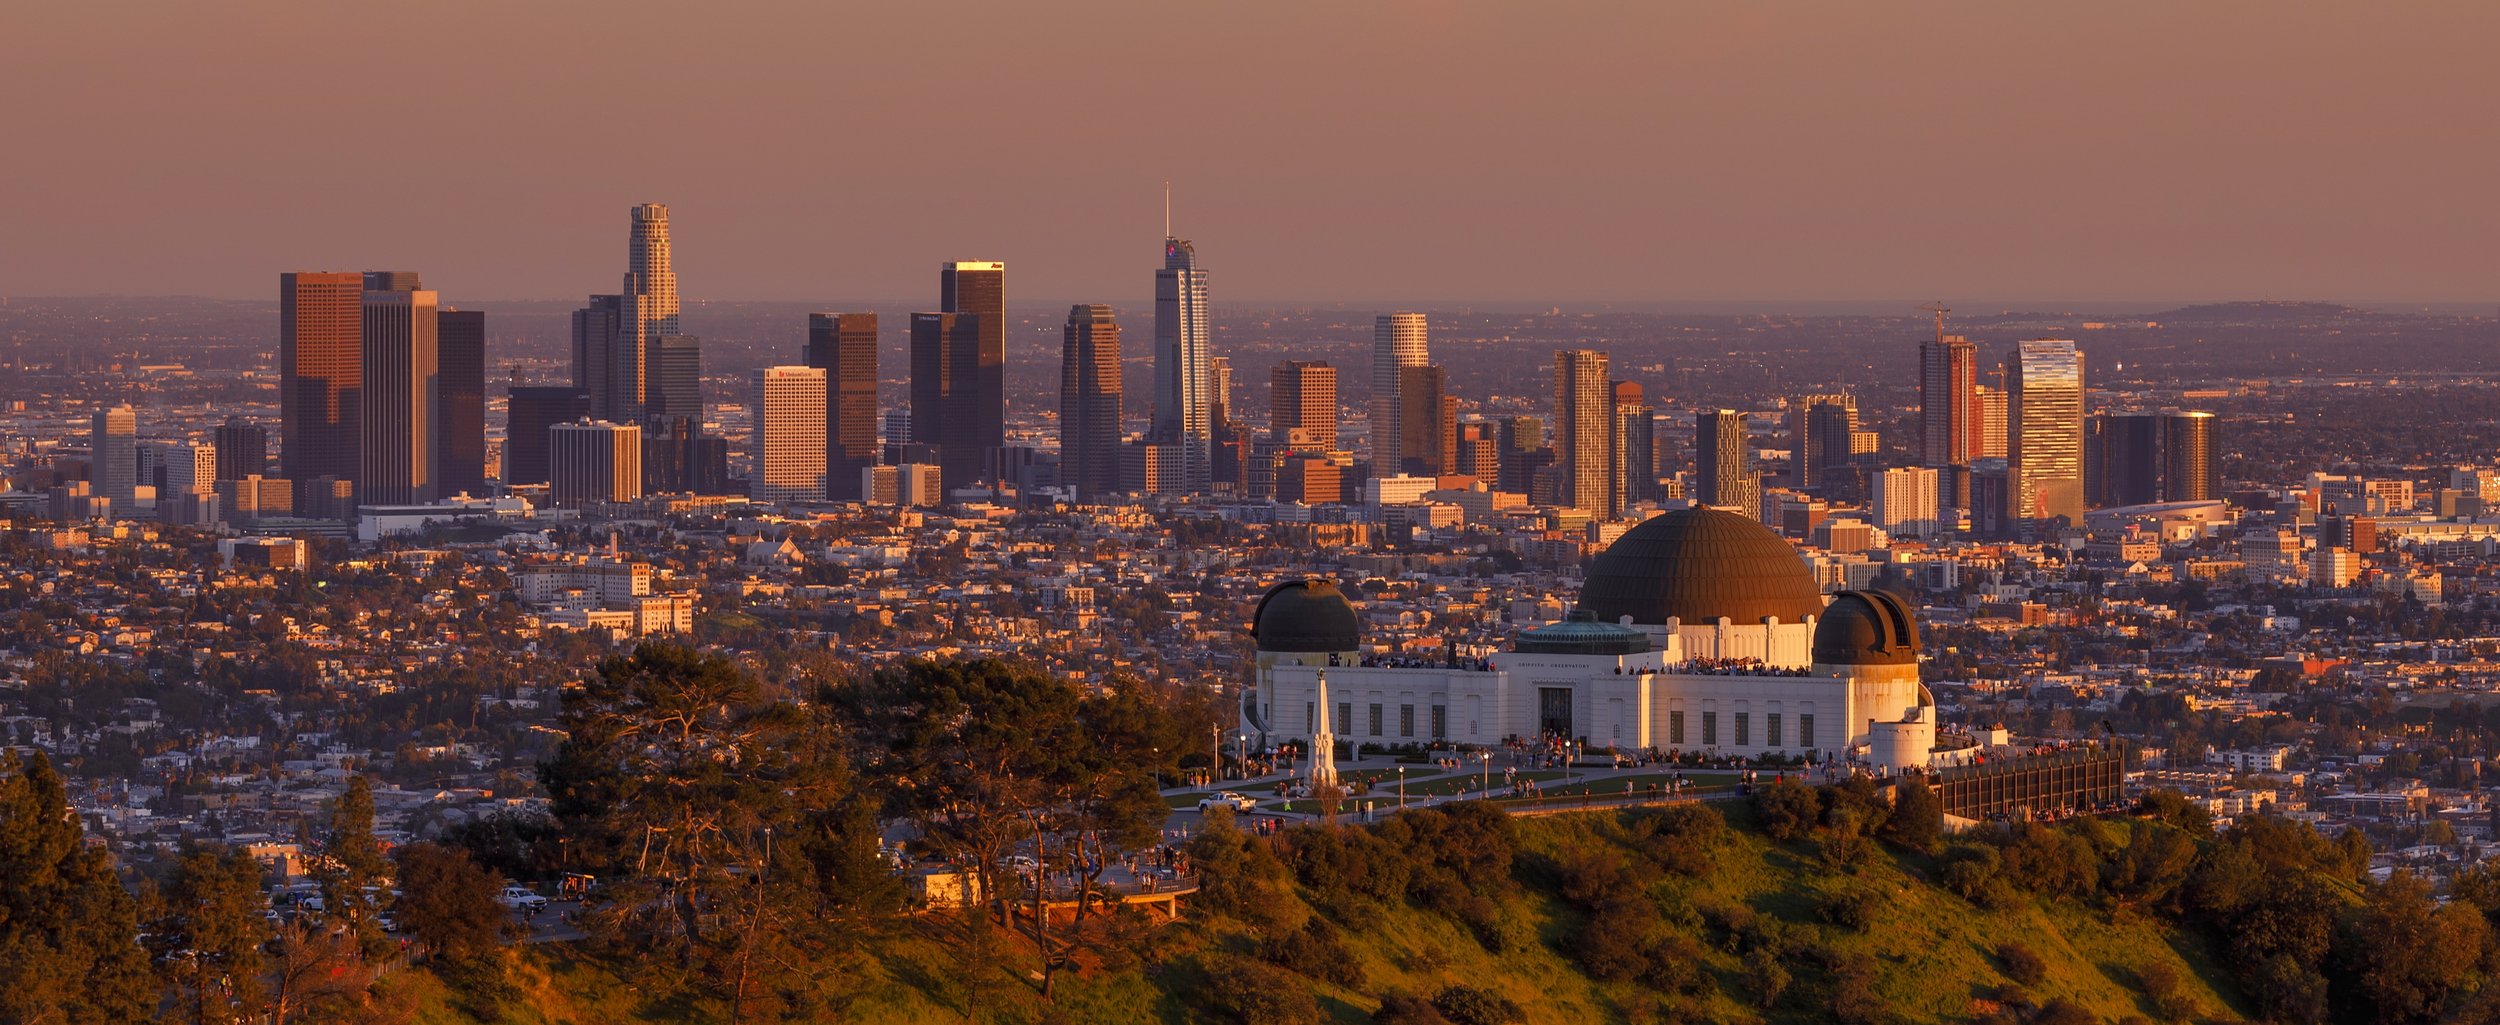
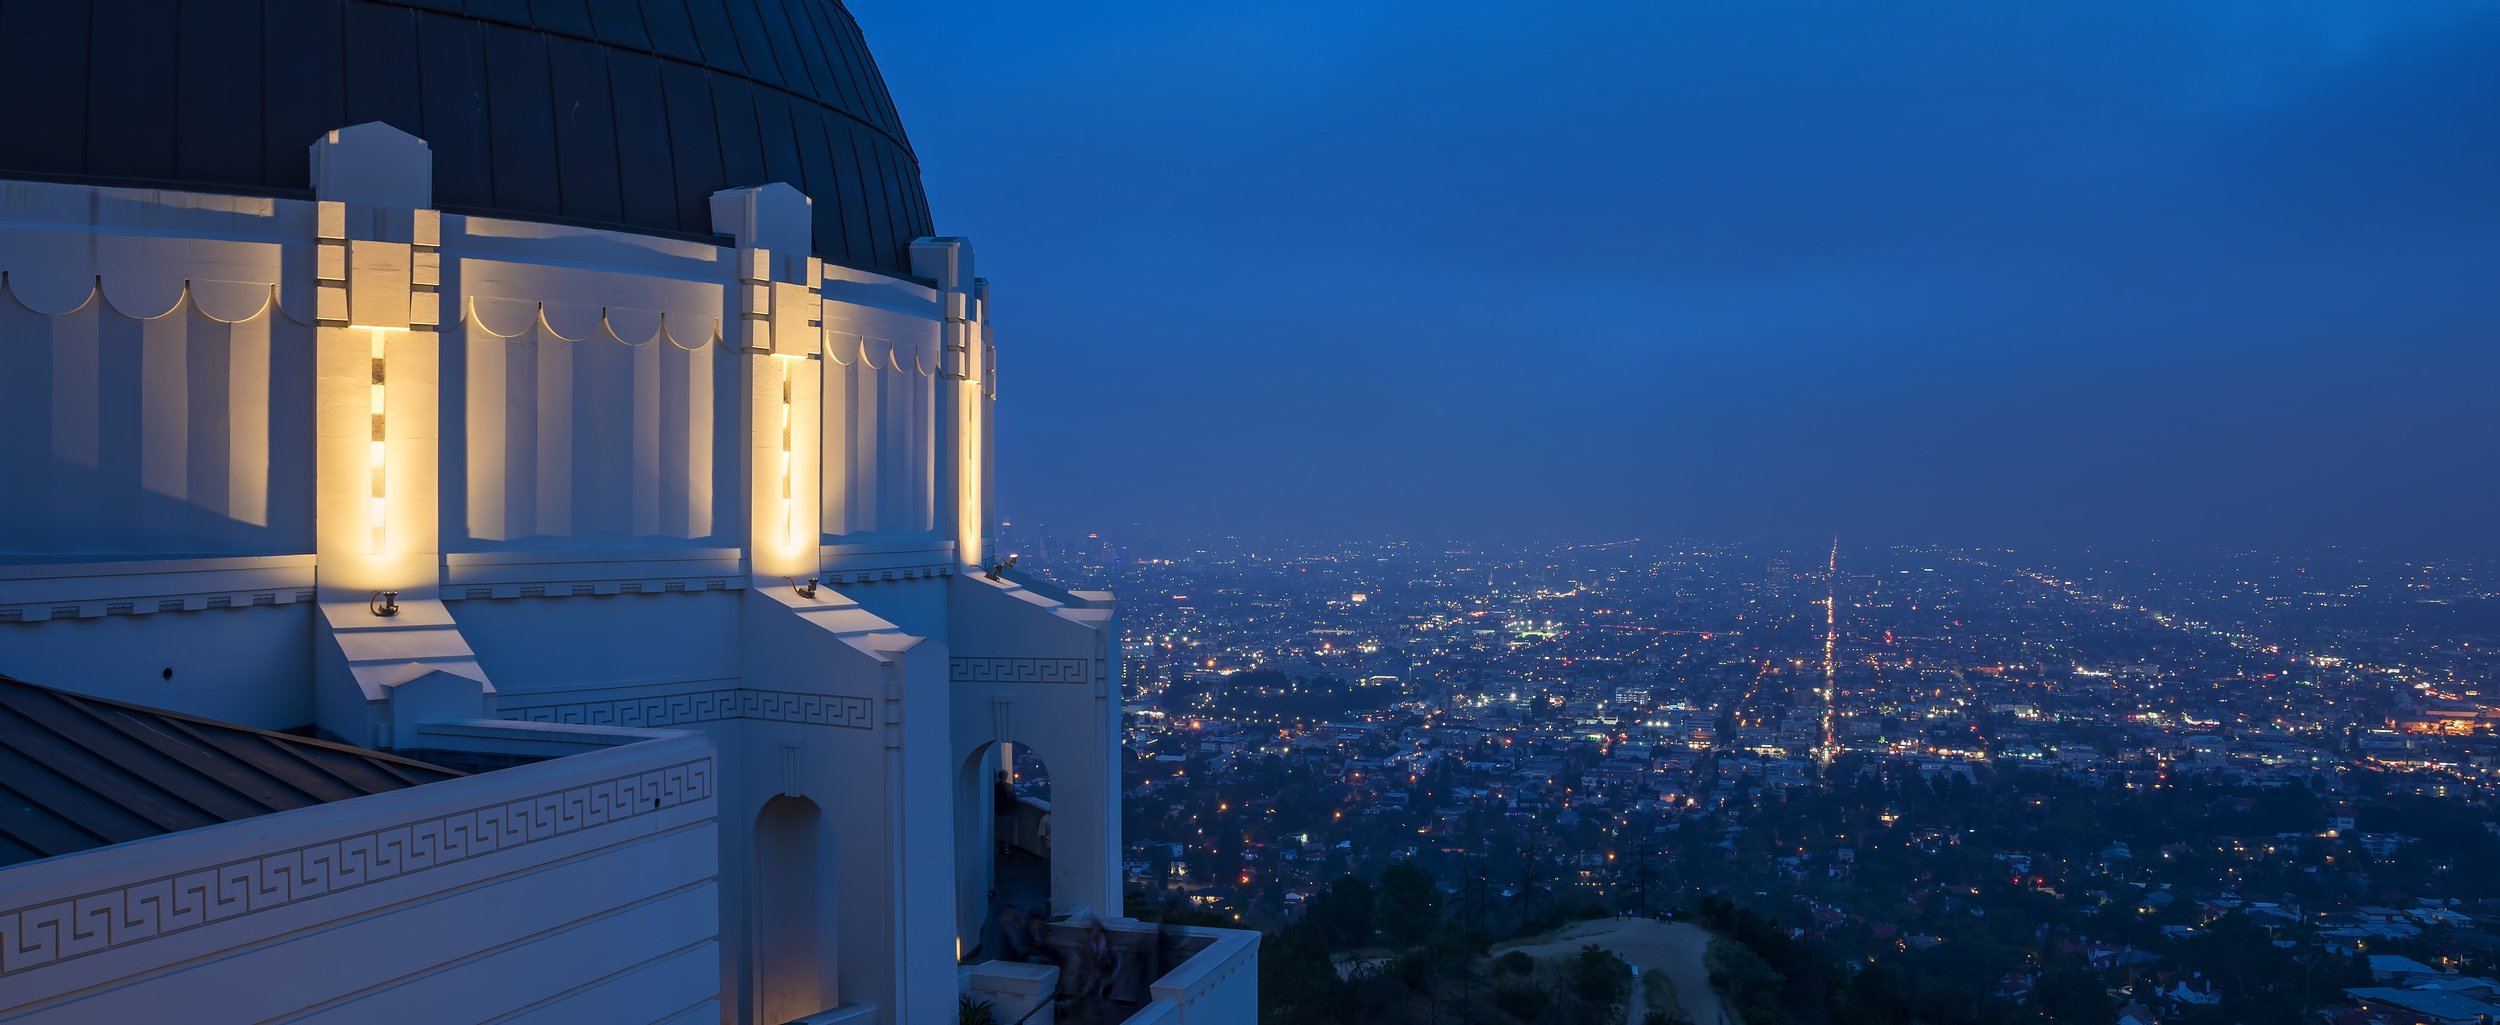
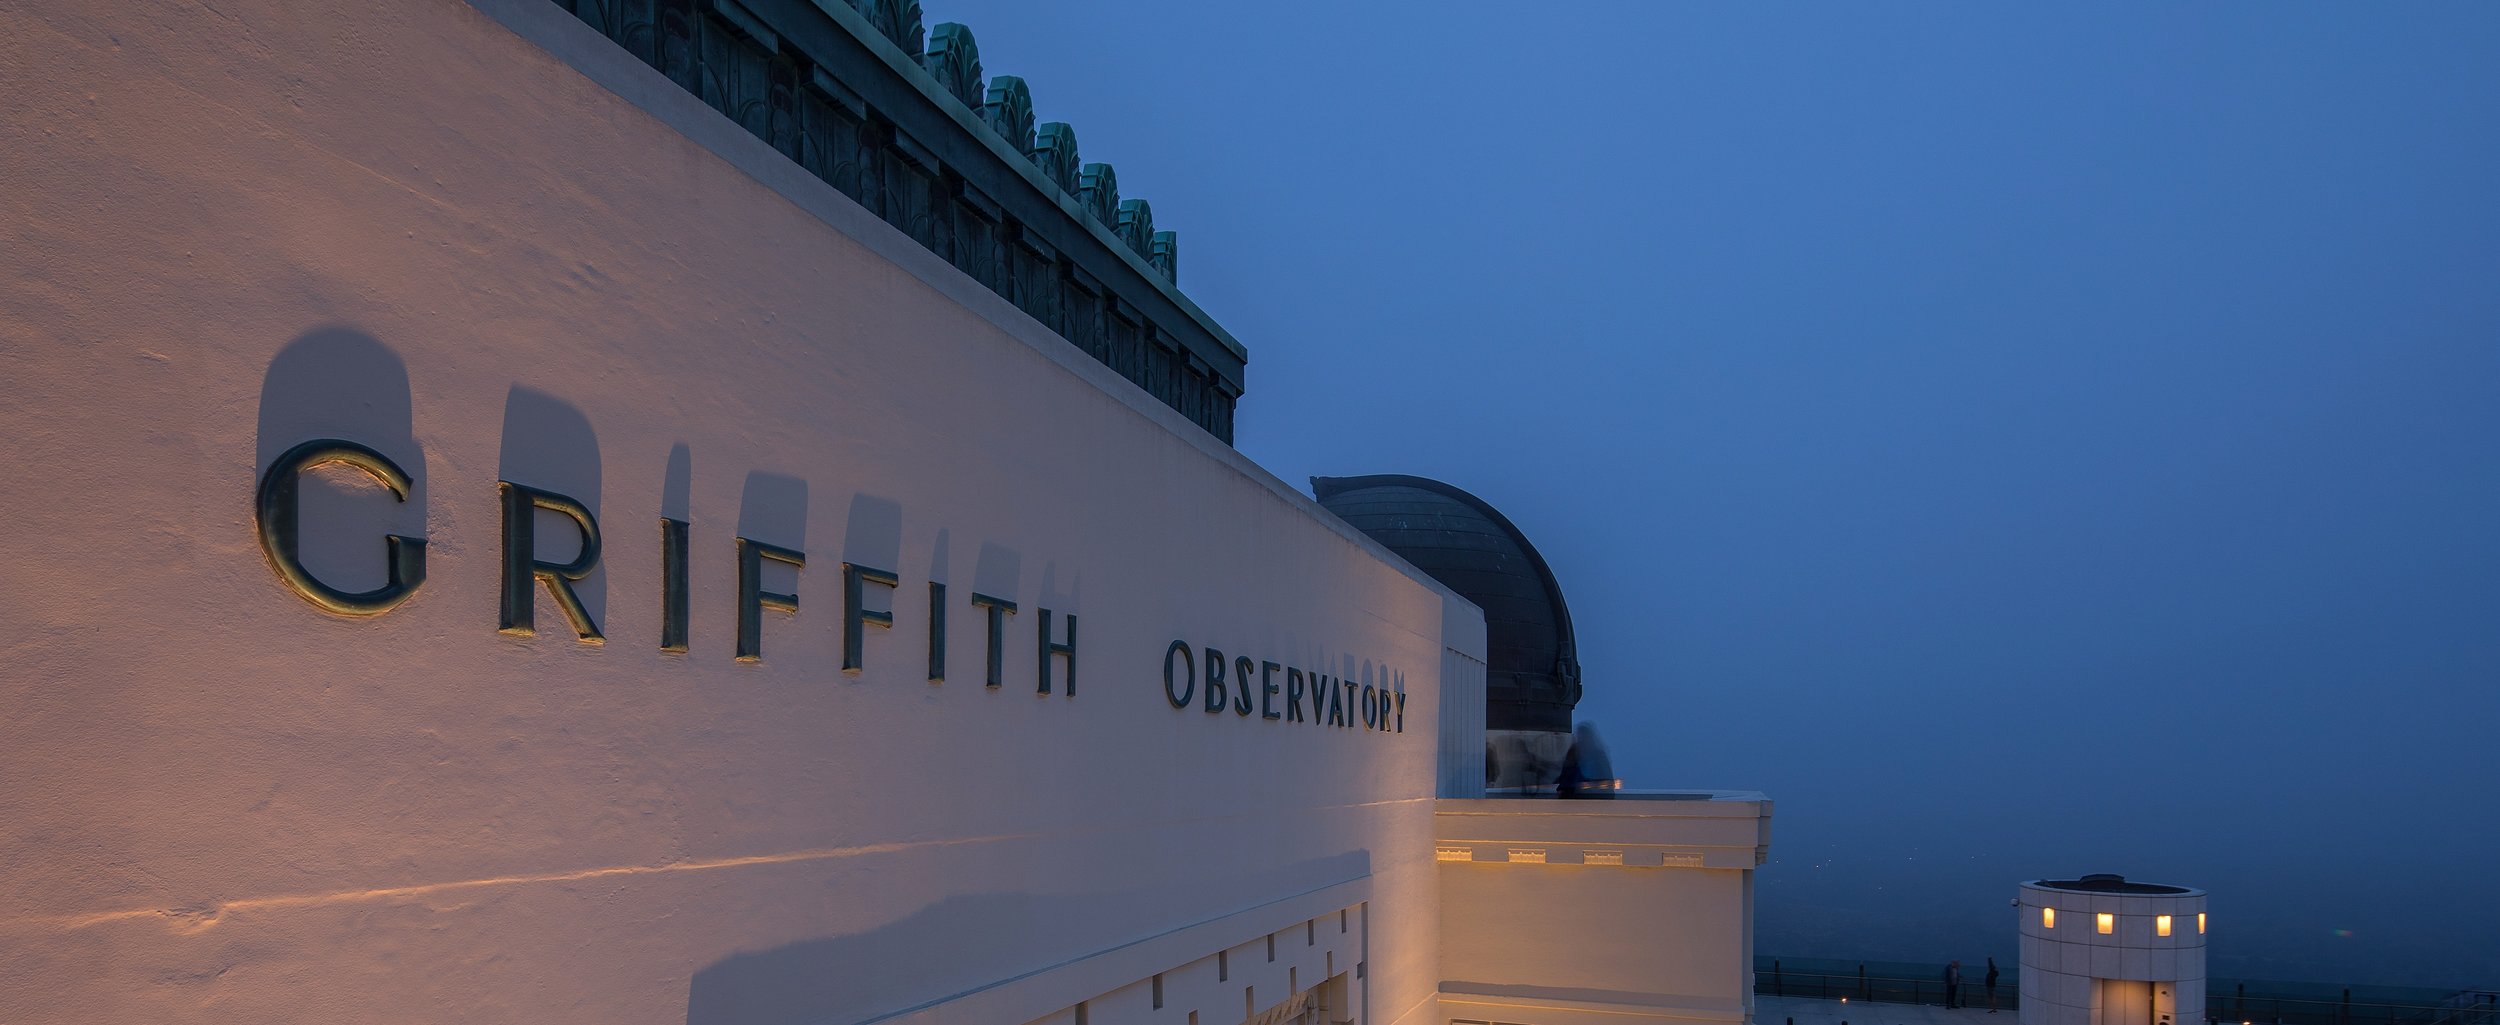
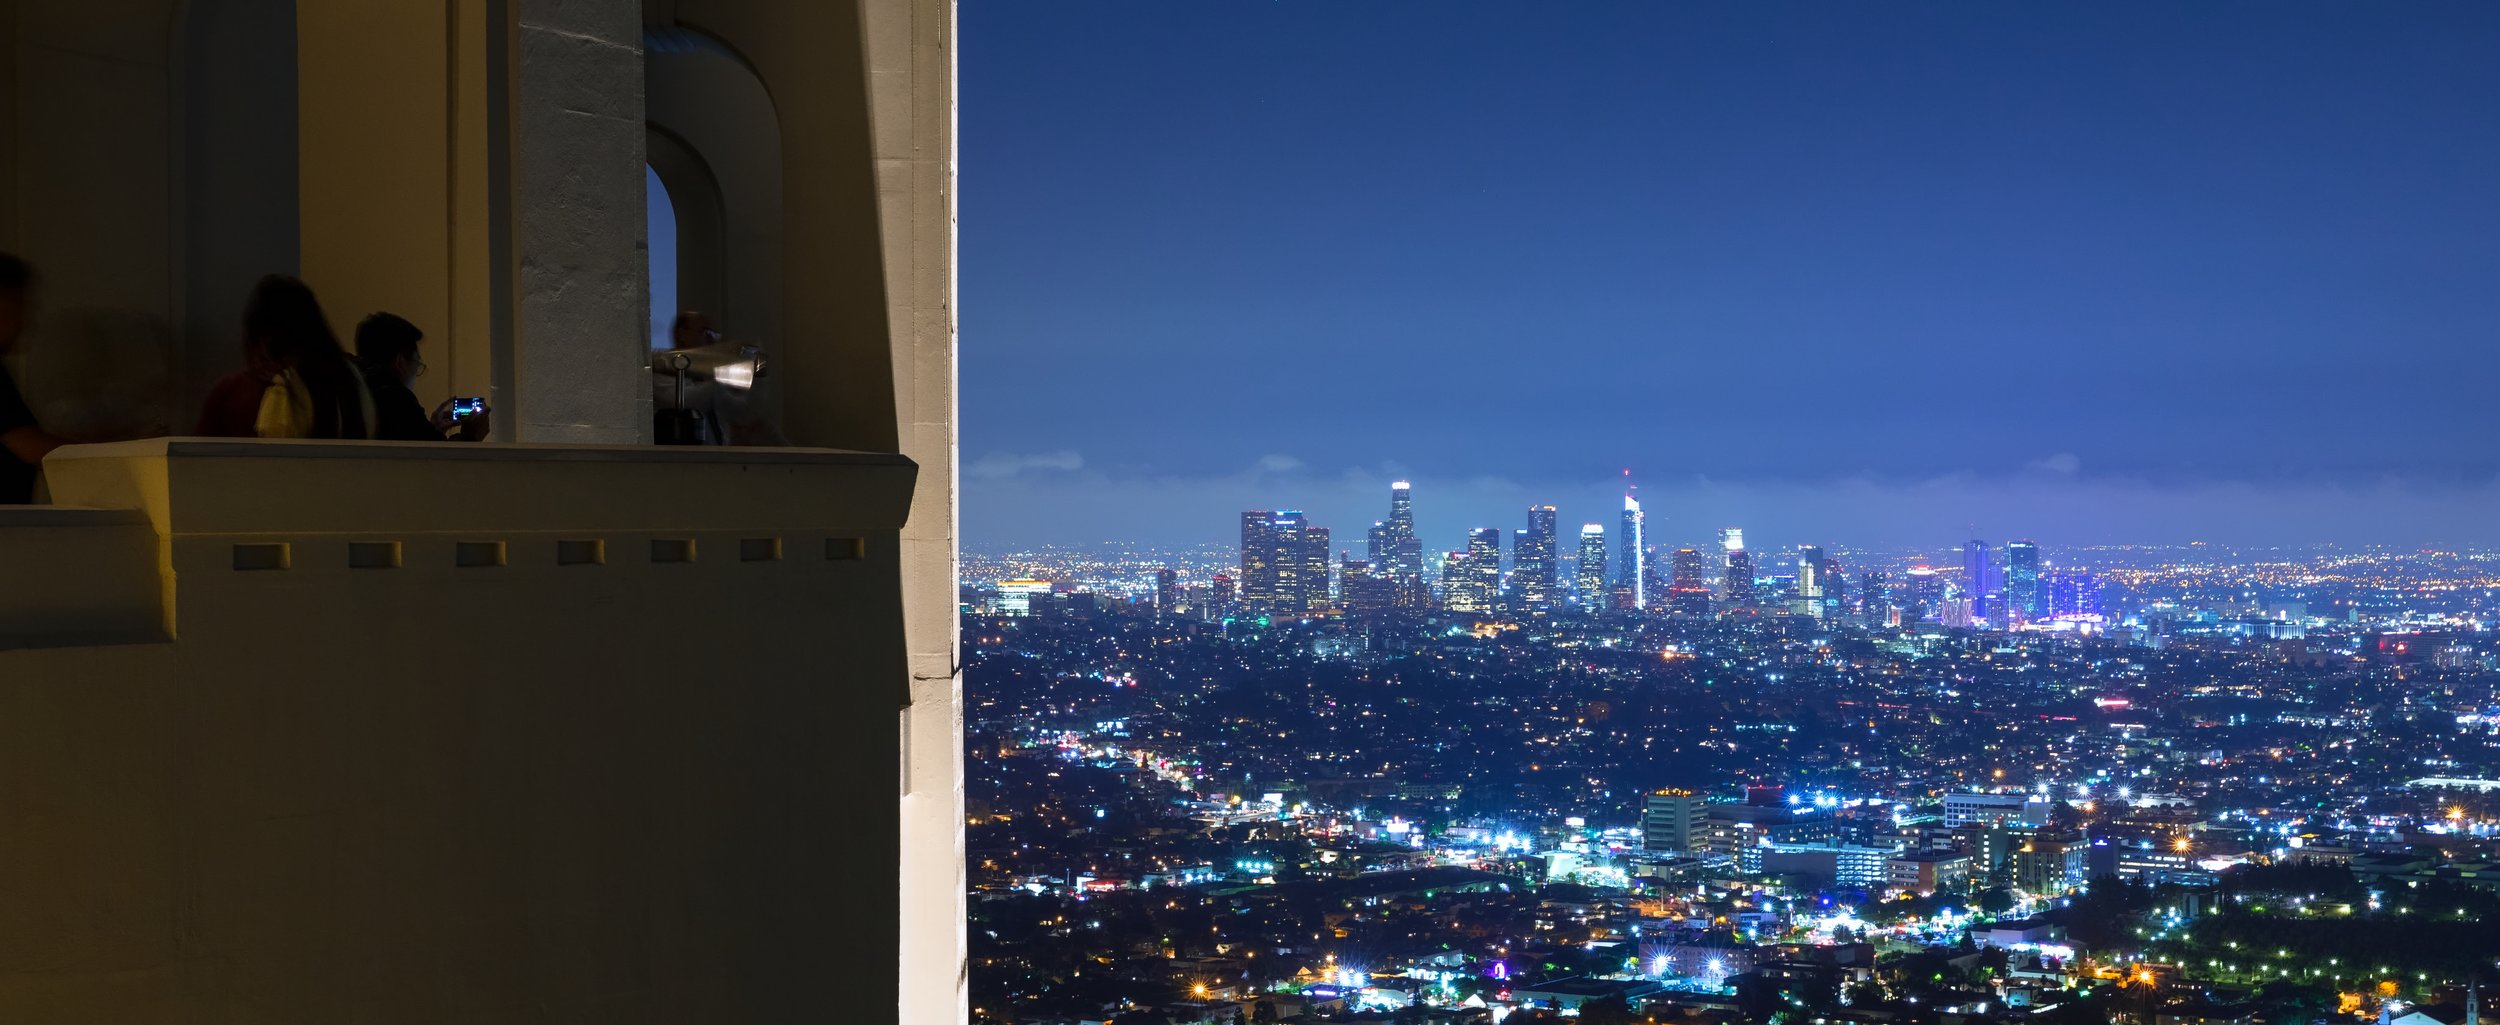
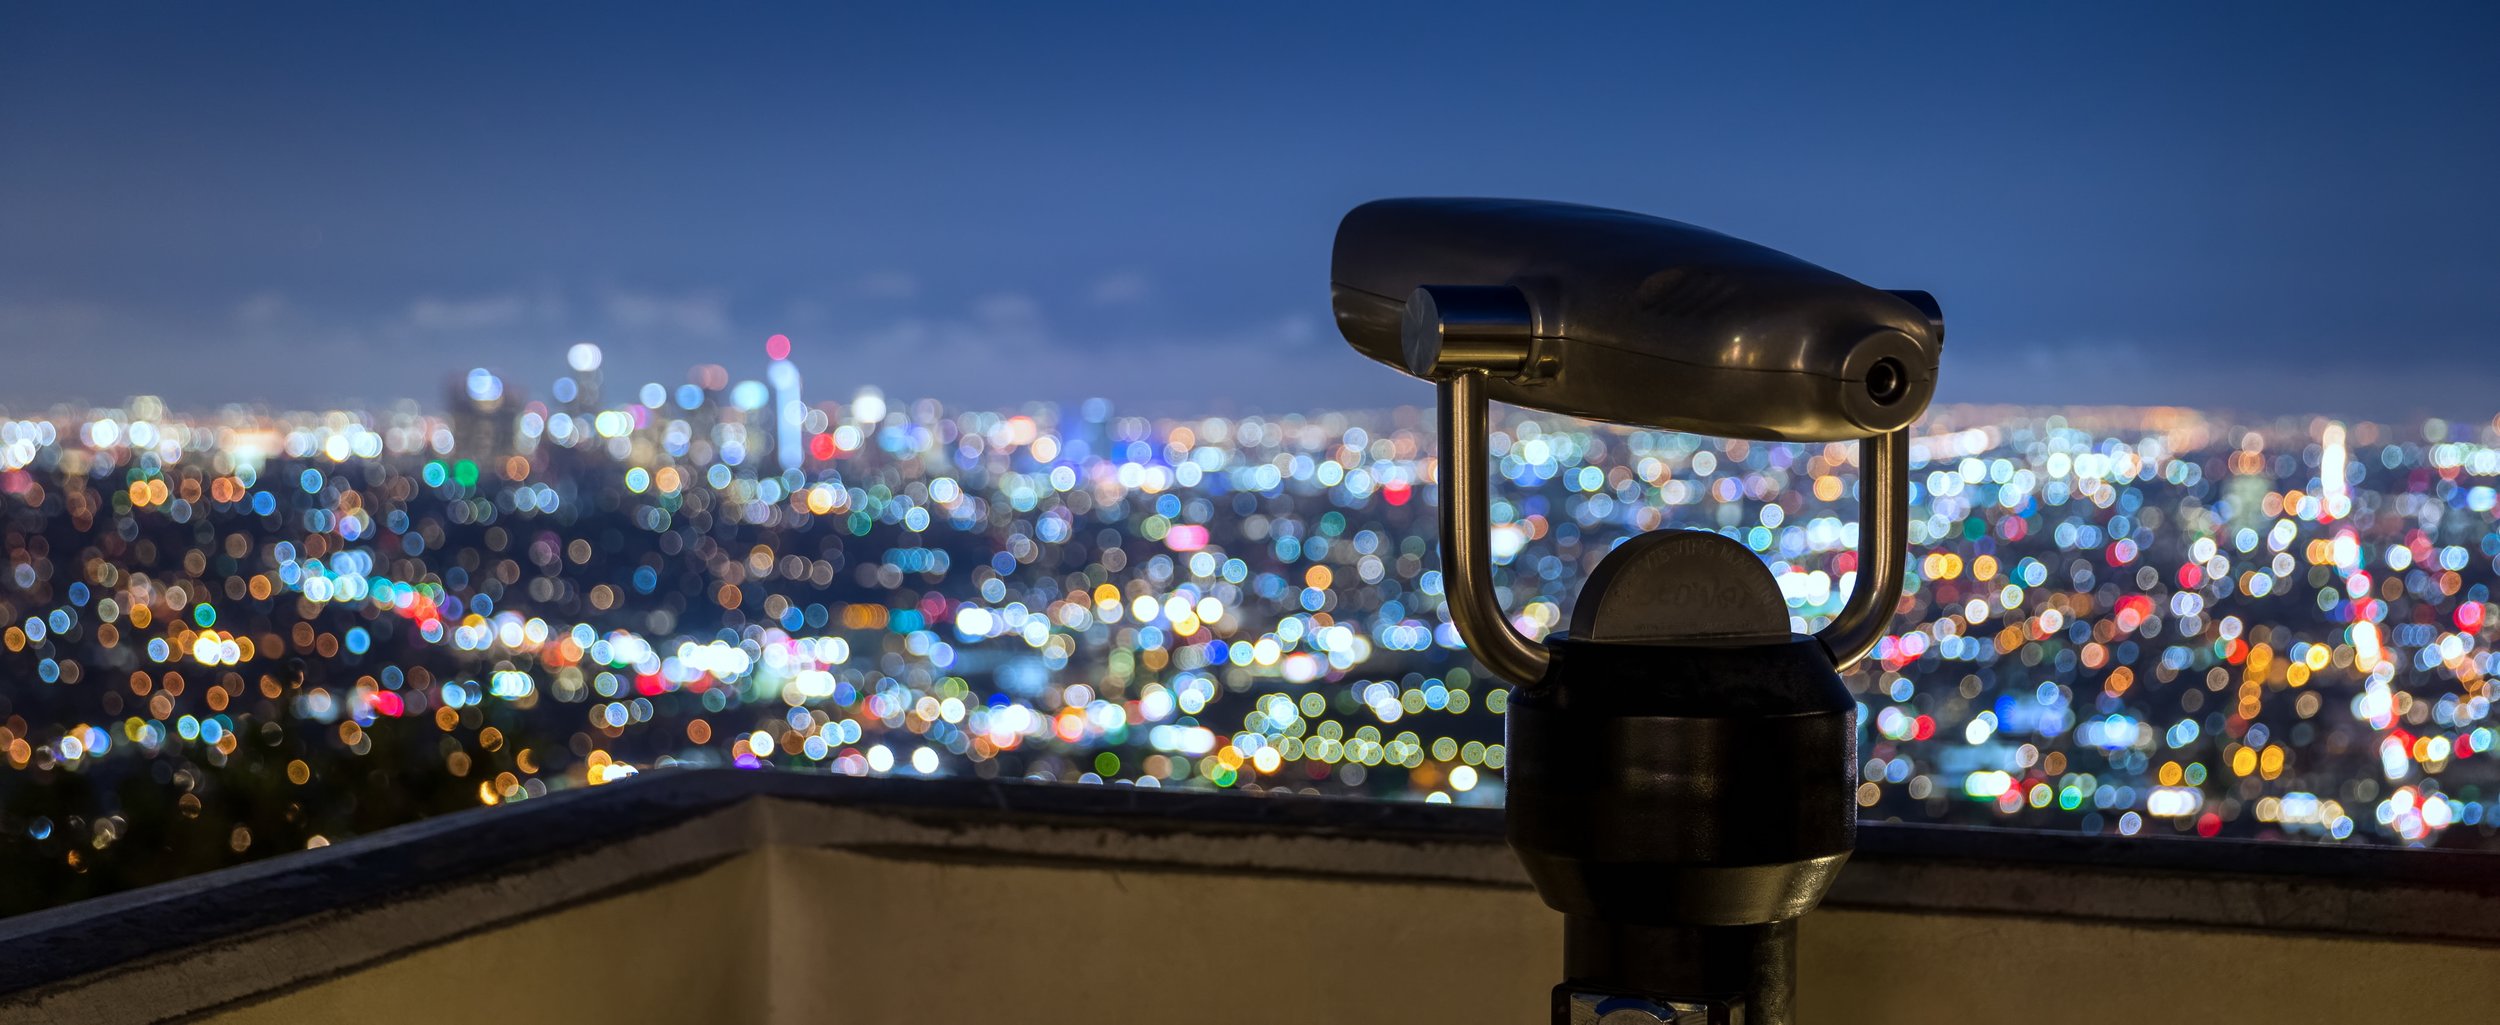
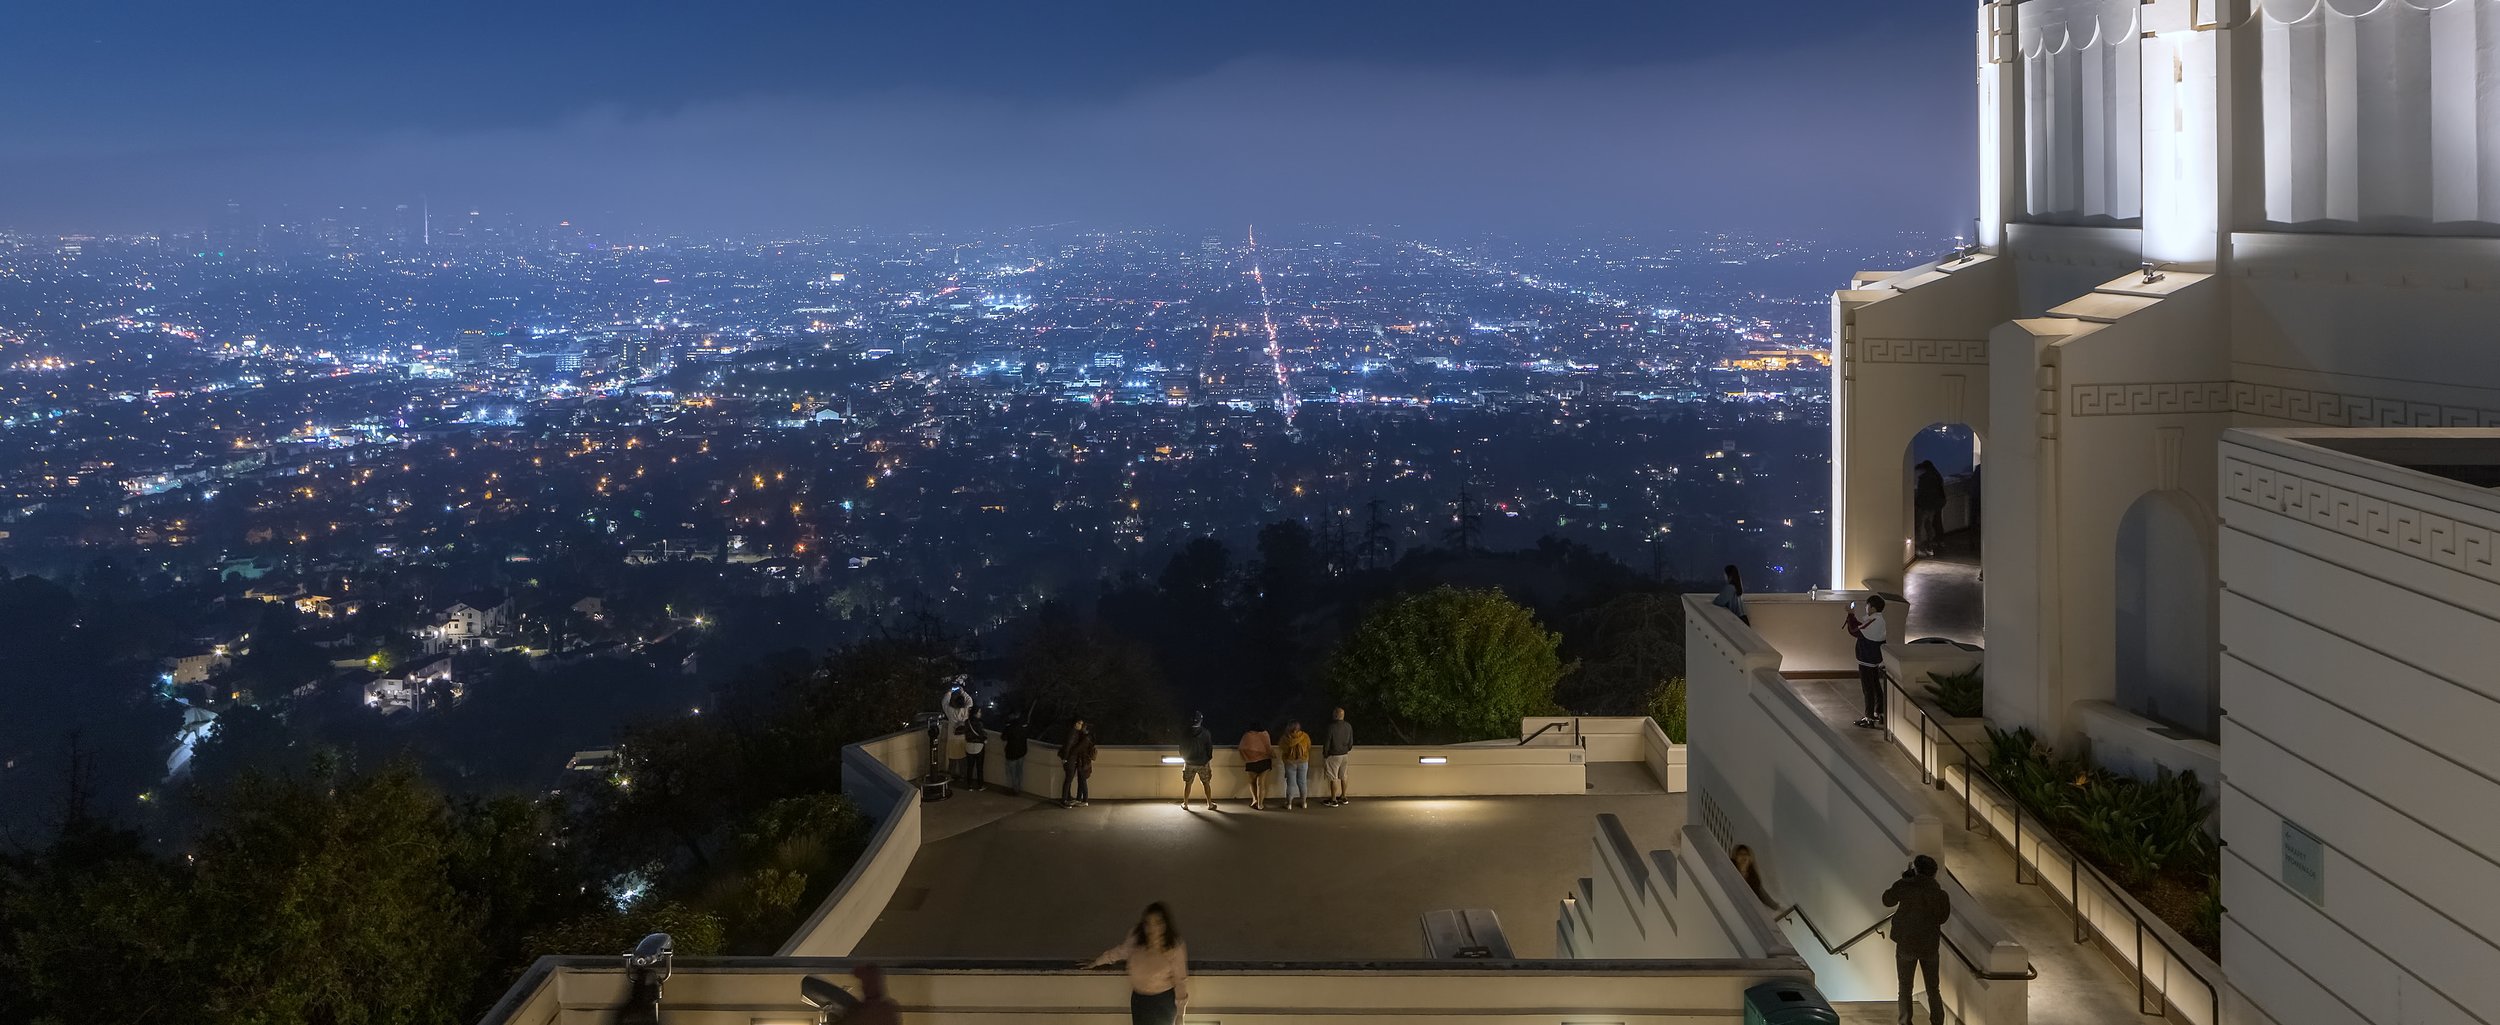
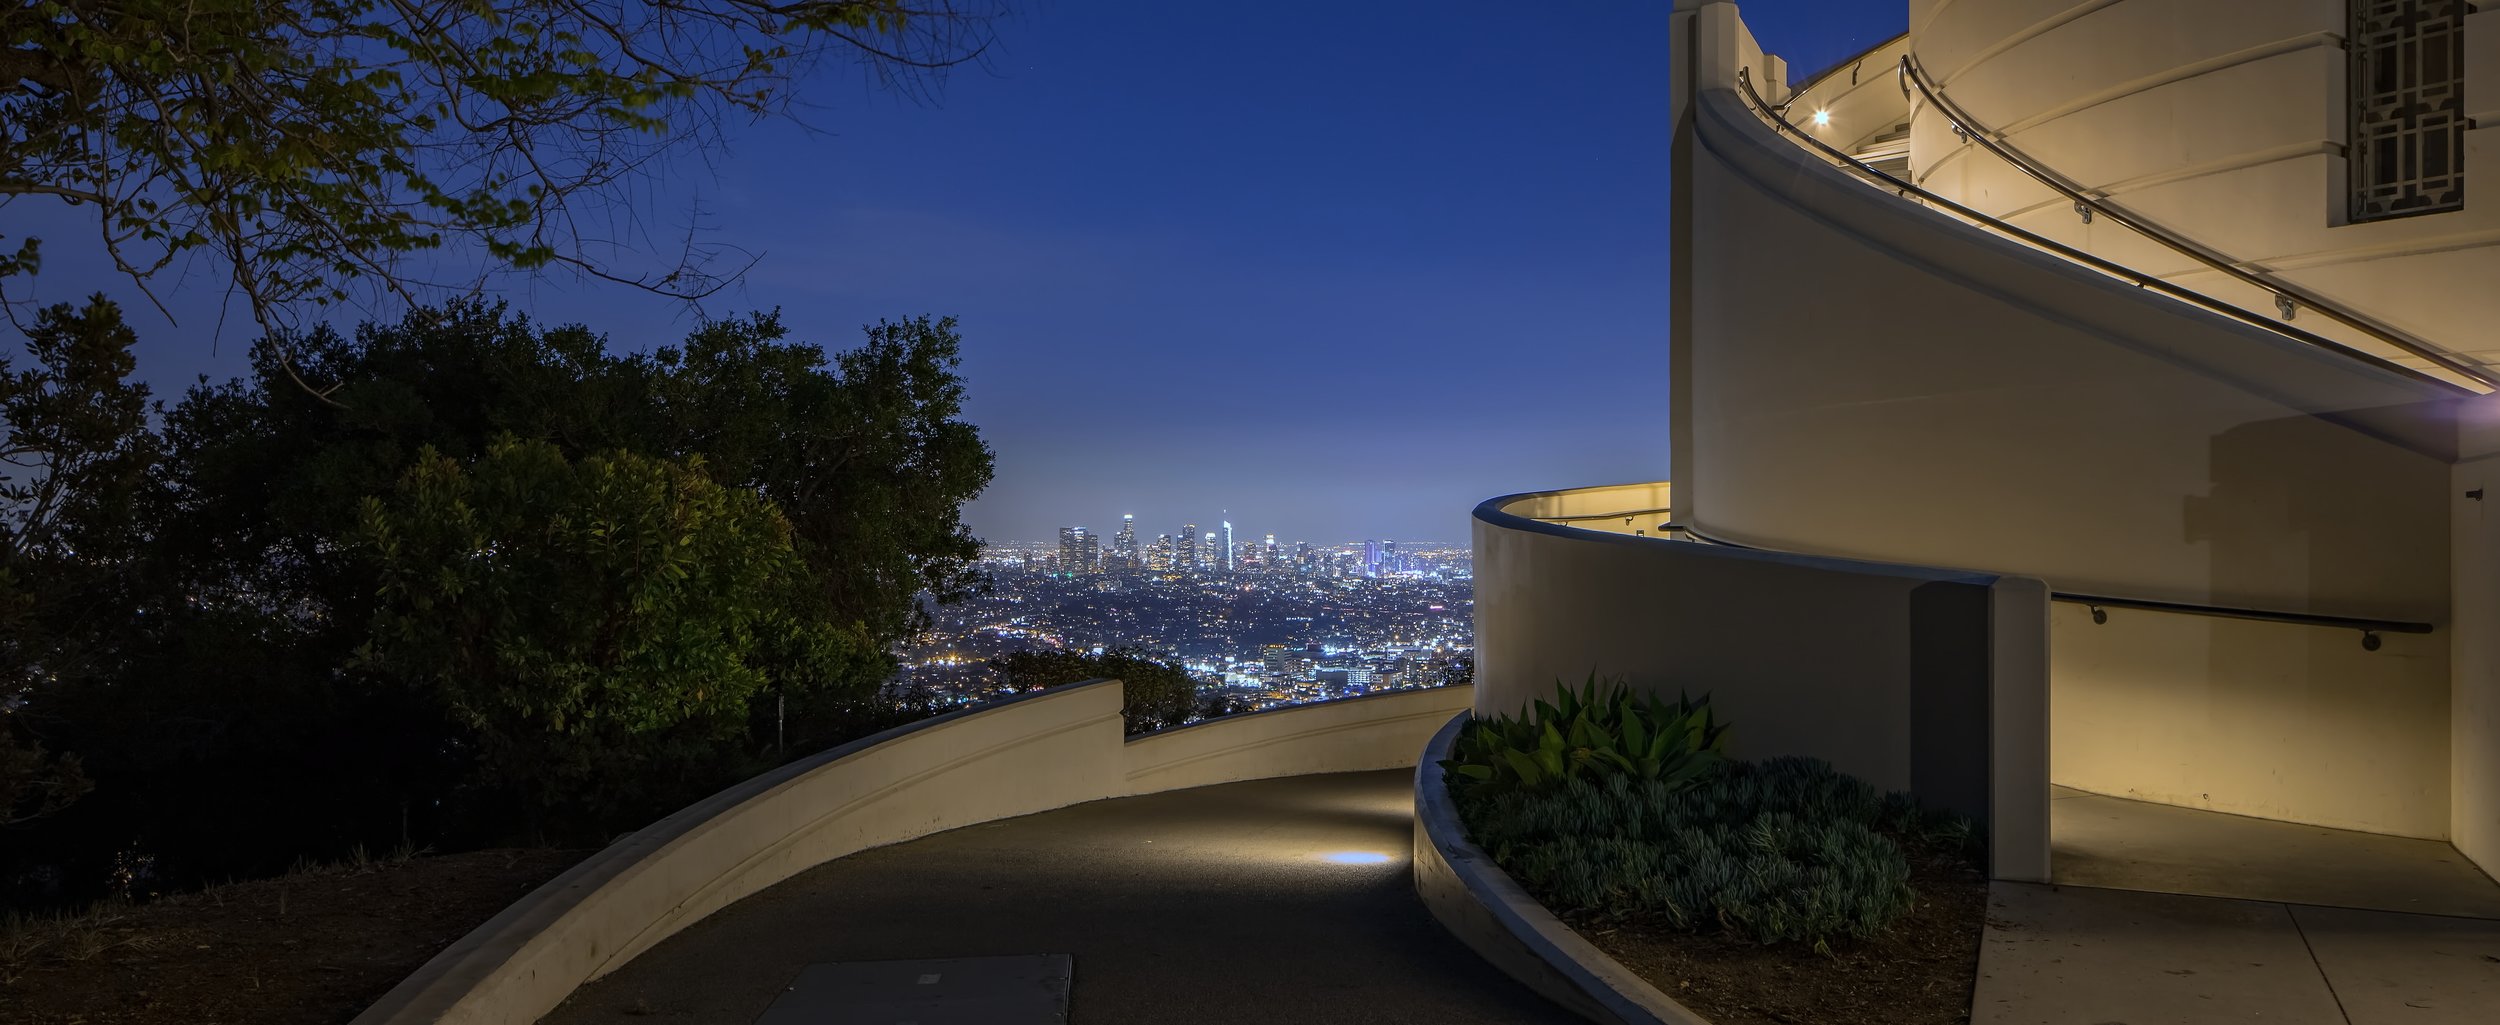
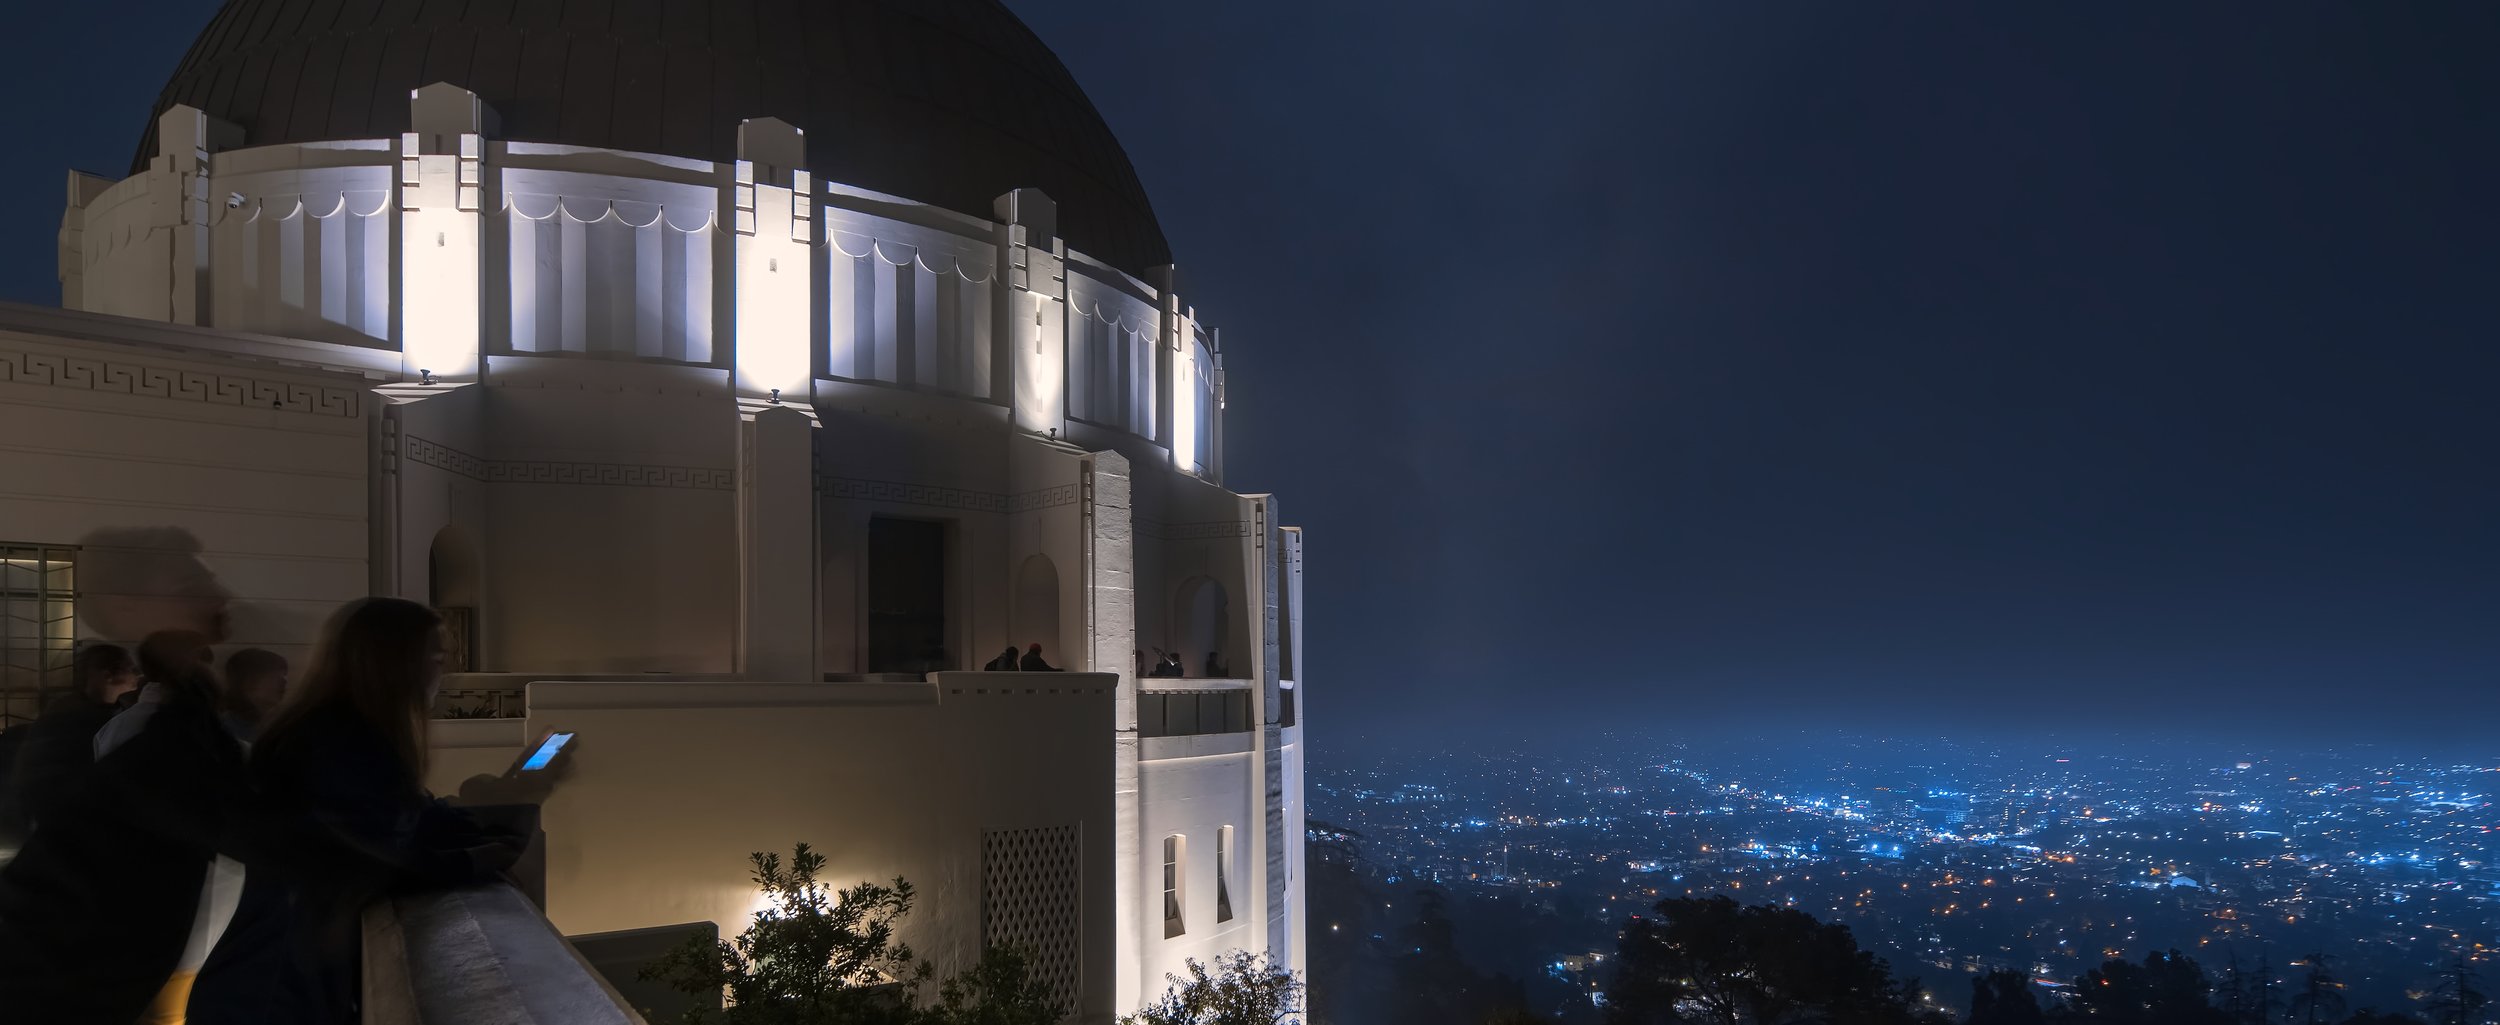
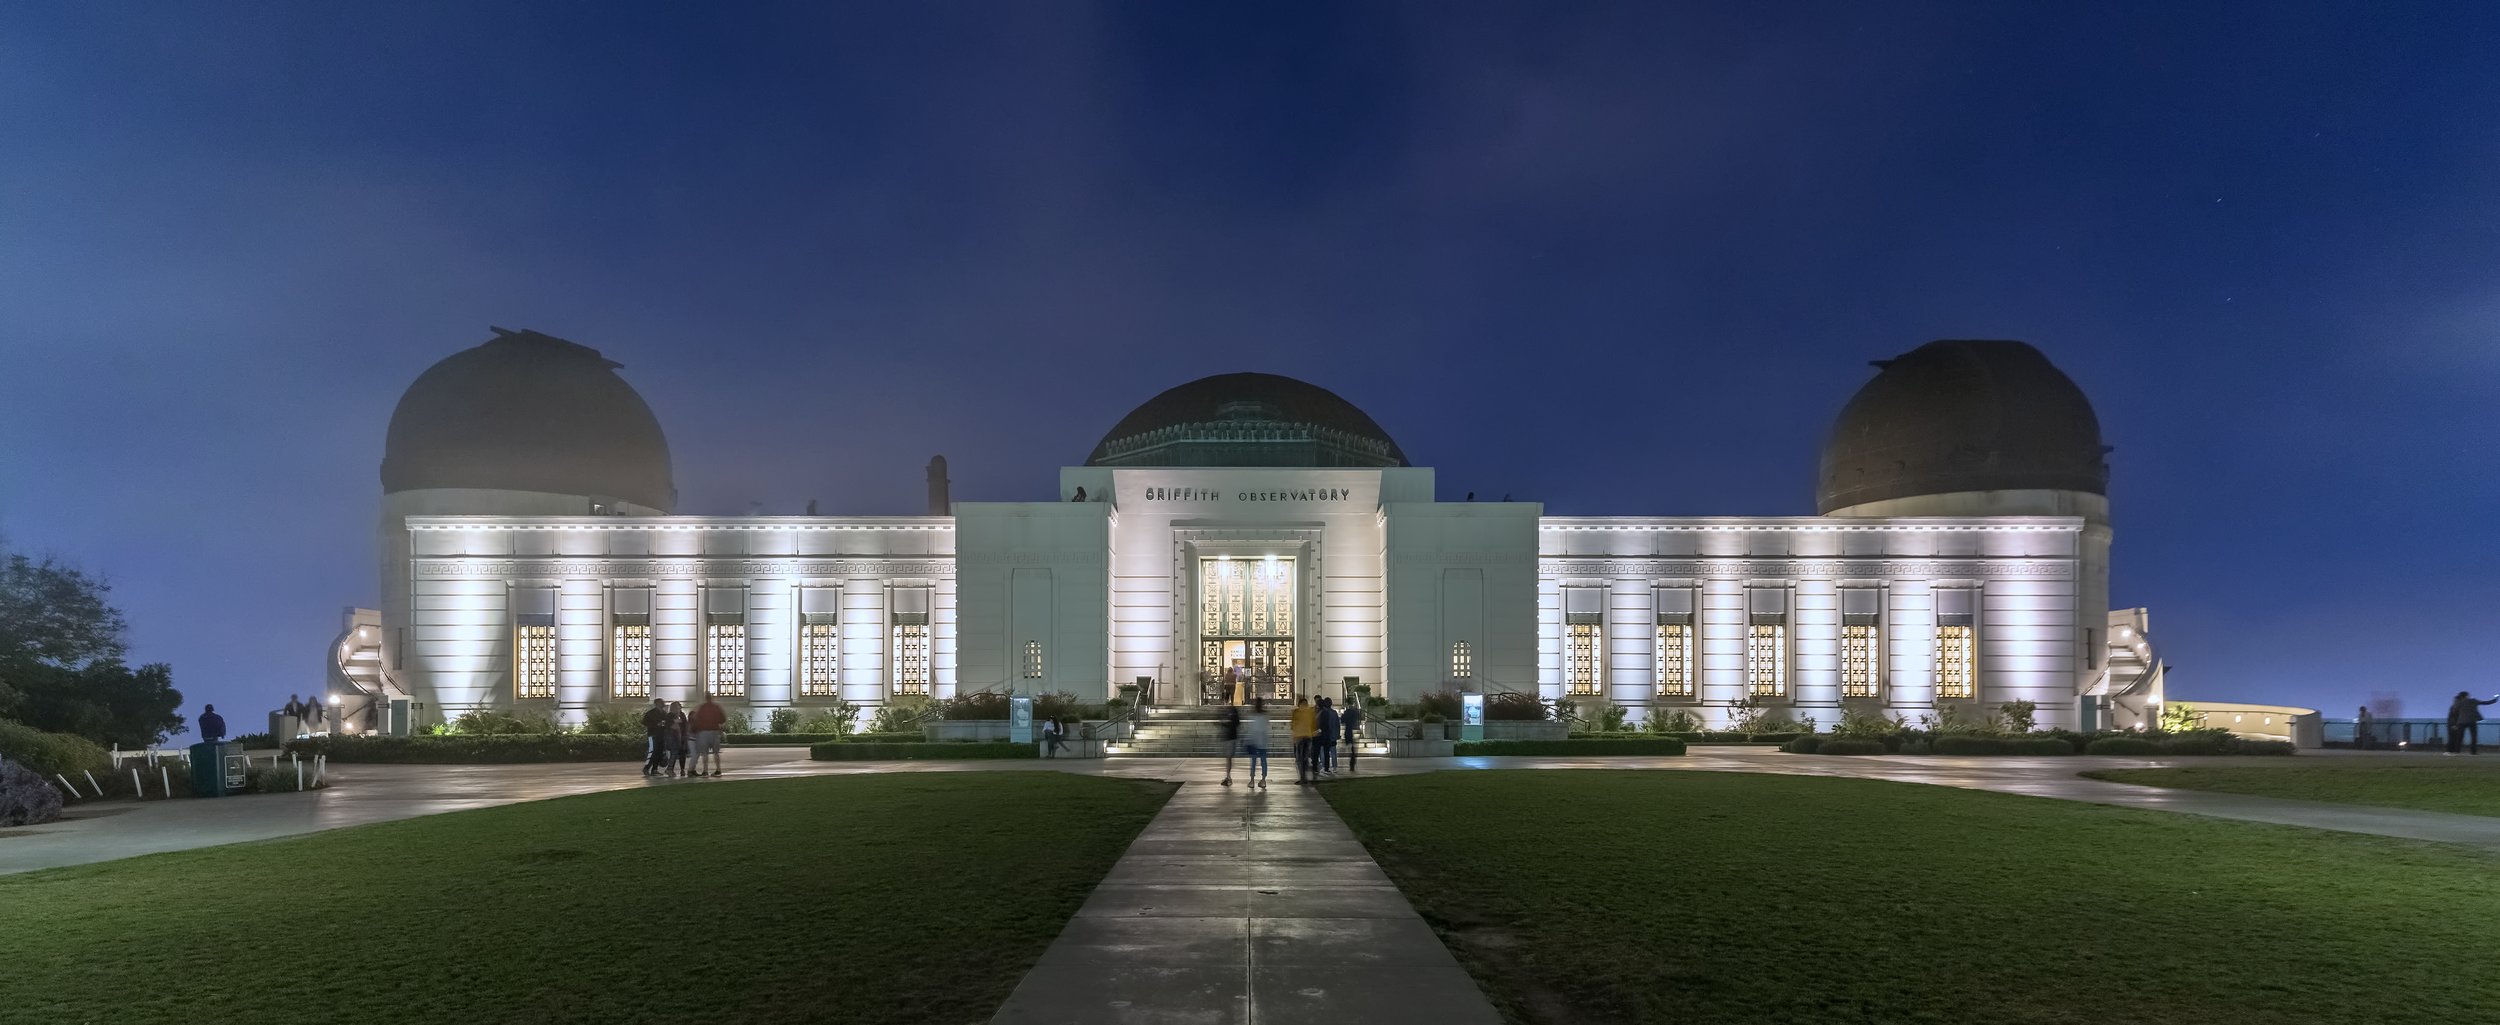
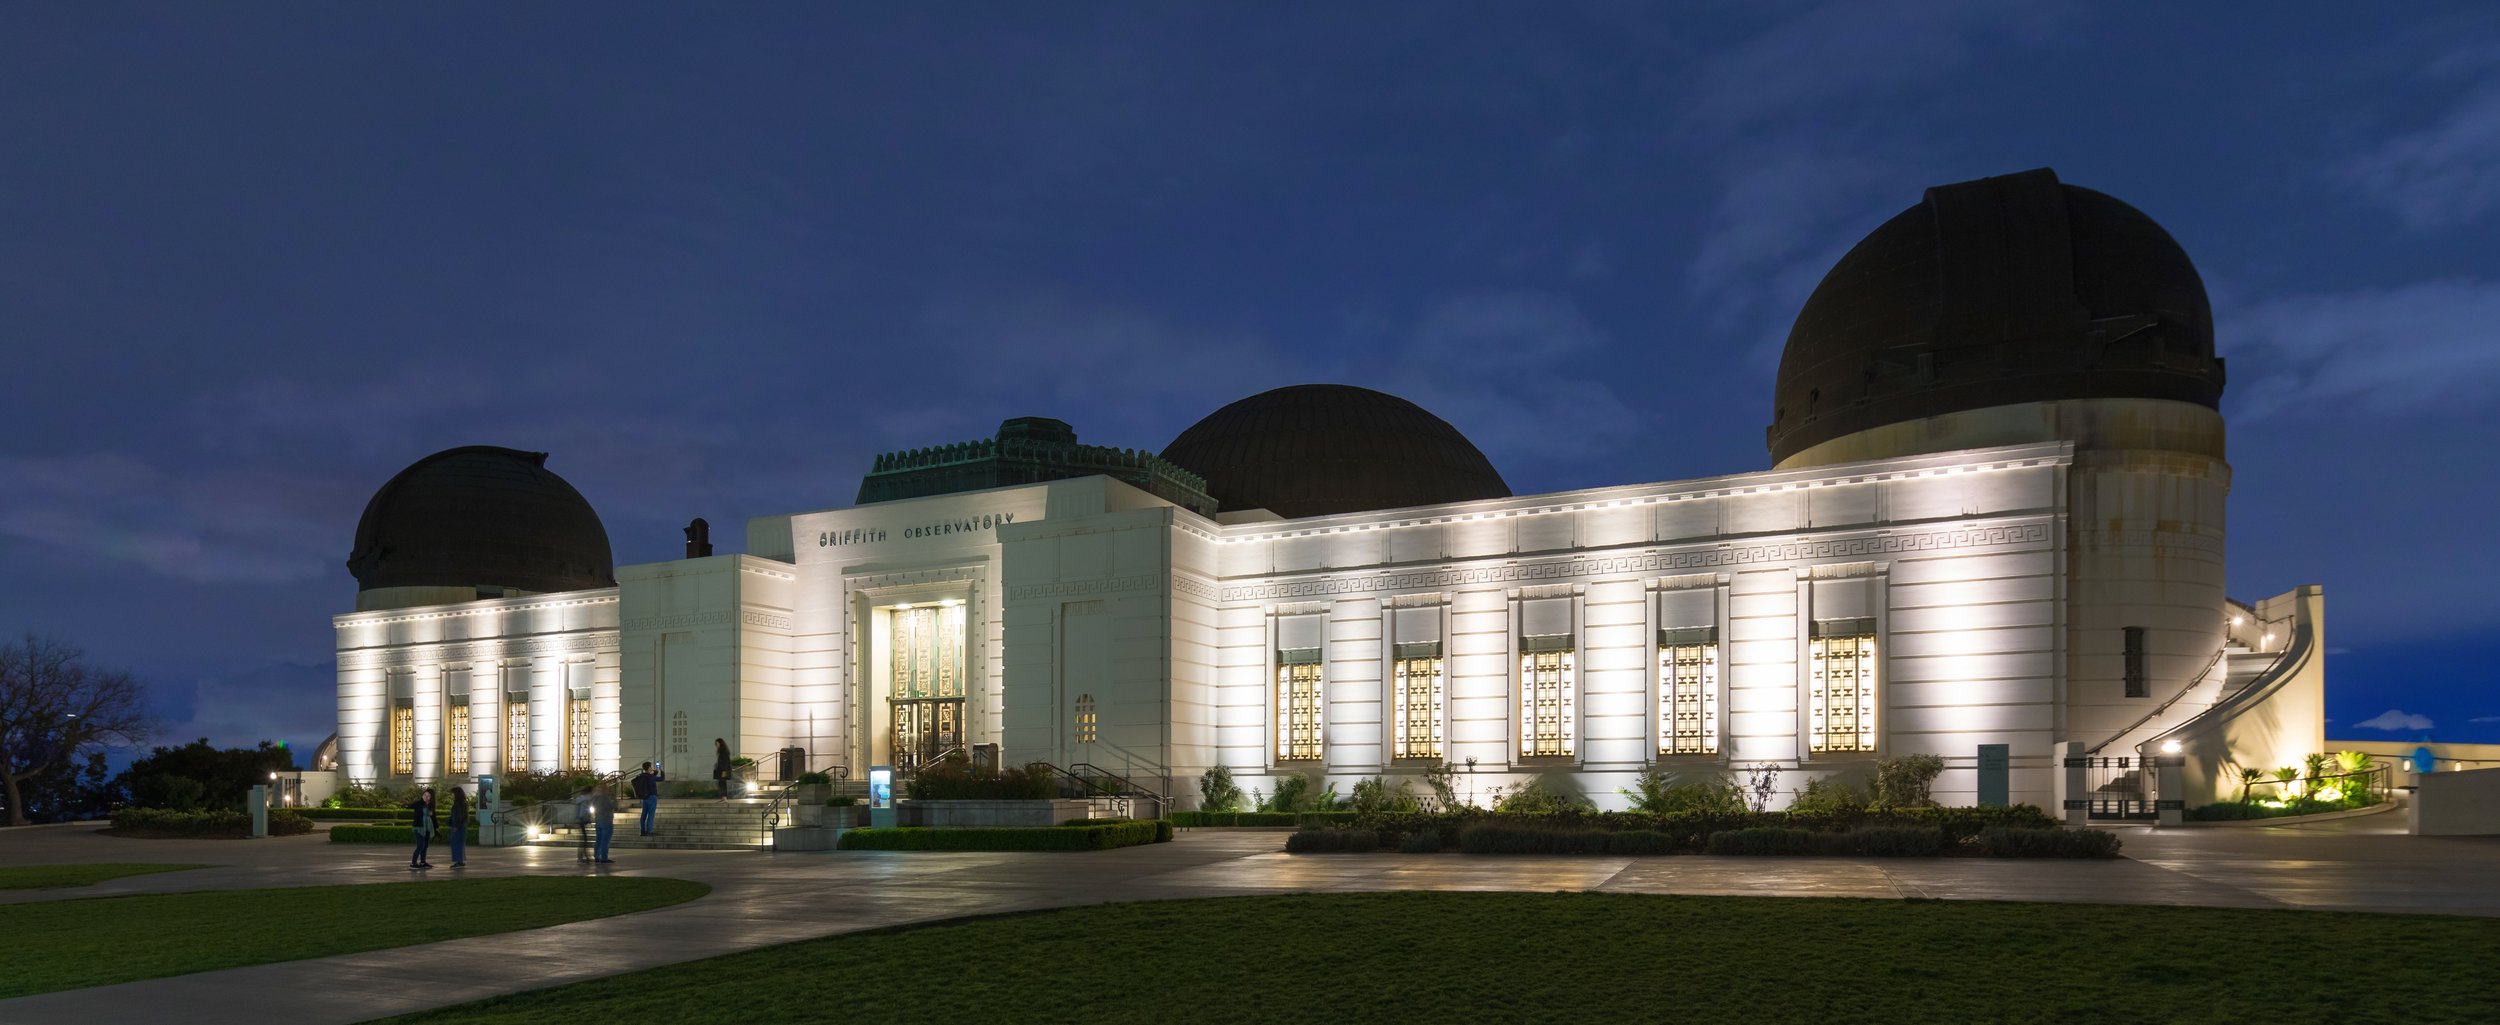
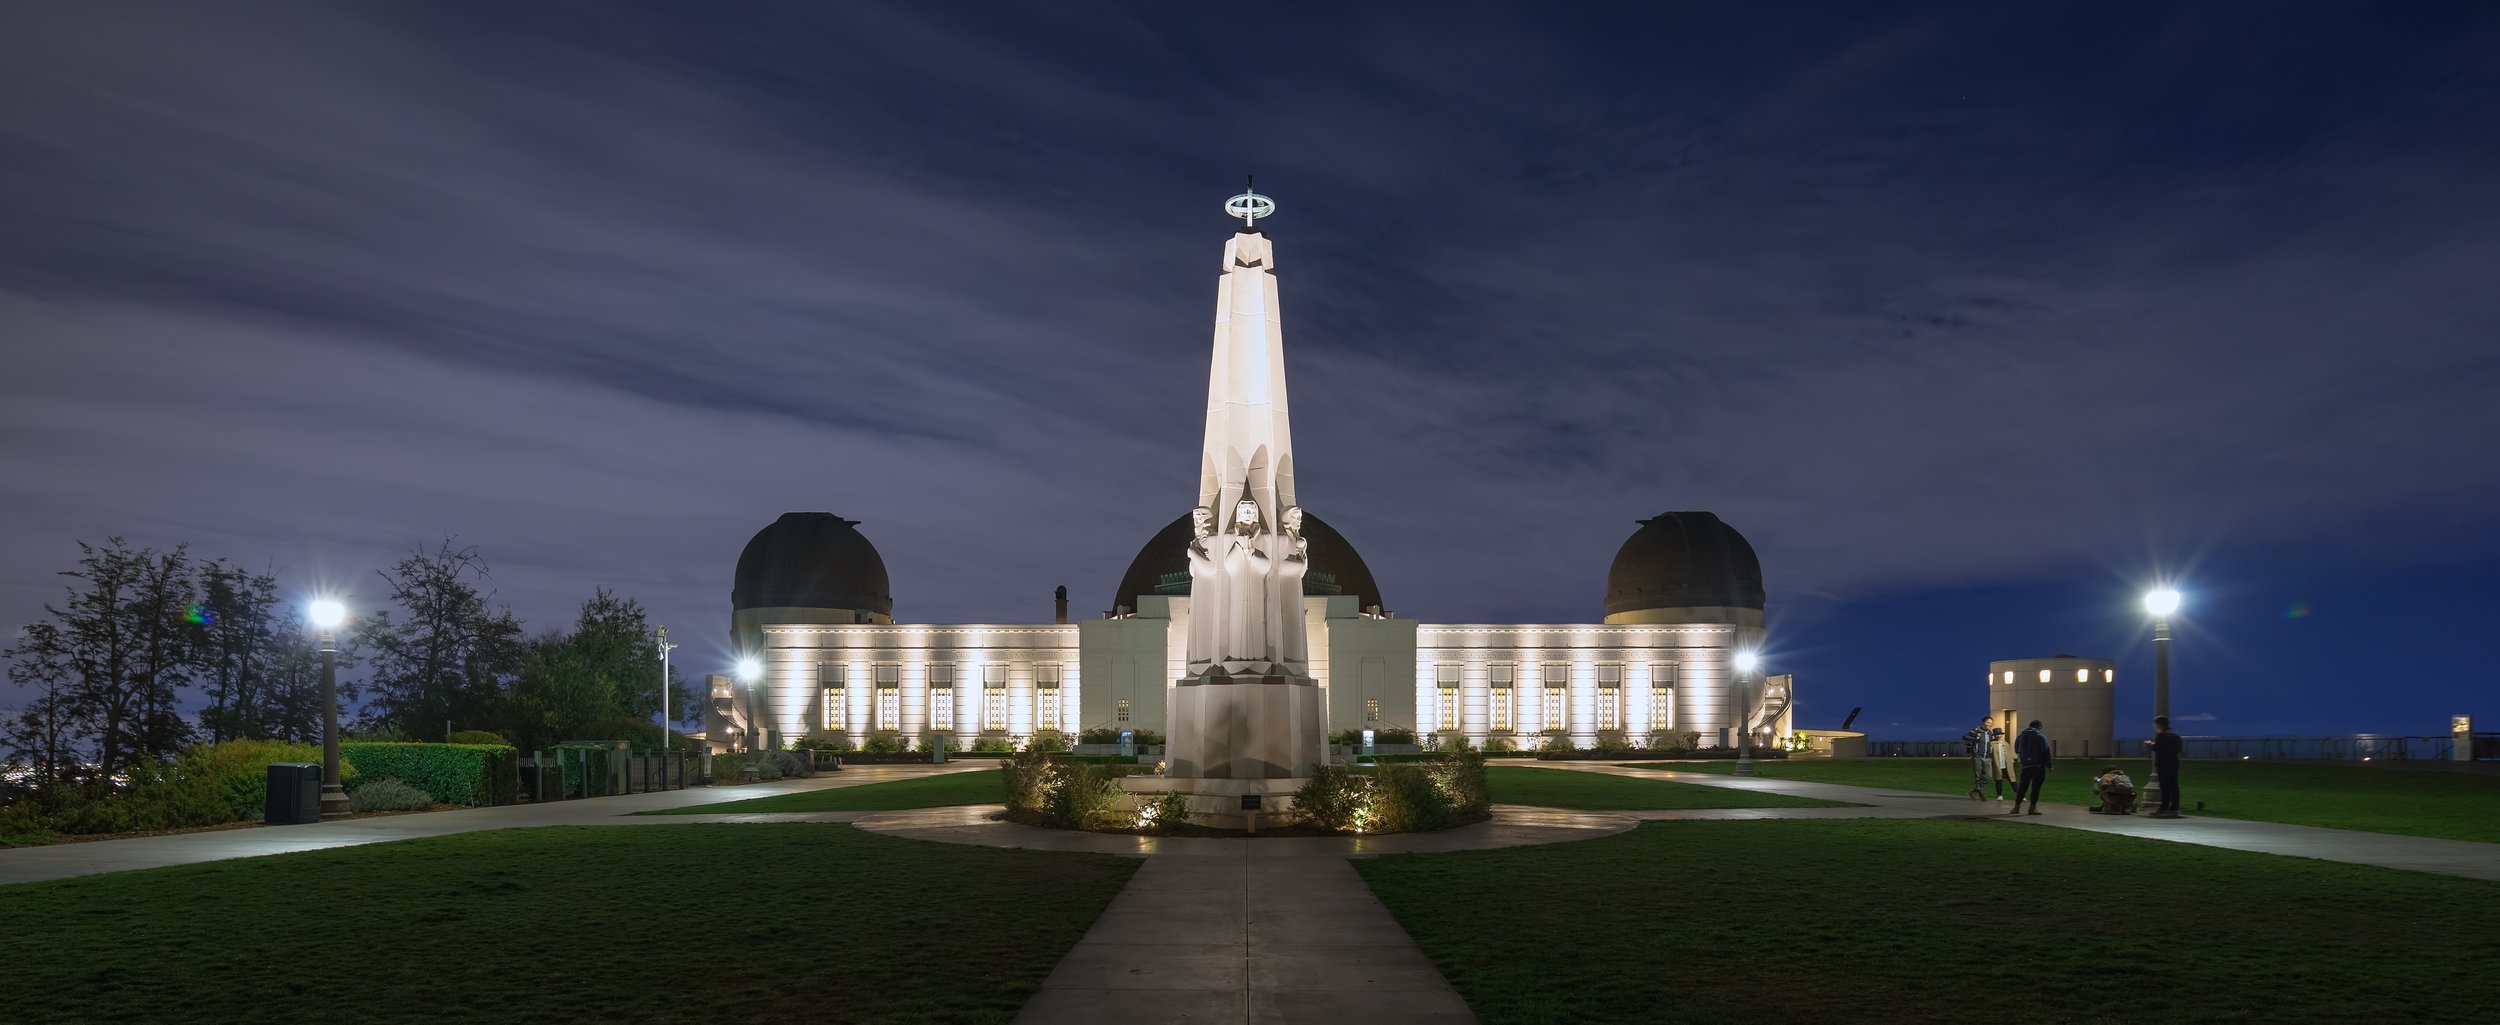
Sometimes the best way to grow as a photographer is to give yourself an assignment. I had an idea to make a film about the Griffith Observatory which is my favorite place to photograph in Los Angeles. I had already done a lot of personal photography there and I felt like it would be the perfect place to practice my timelapse skills. After 6 months of work, a lot of failure, a computer upgrade, and a whole lot of support from my wife and kids I am proud to finally share my first timelapse film.
What I learned:
In the process of making this film I learned a lot along the way.
I learned to Embrace Failure! Timelapse photography is harder than it looks and I failed a lot.
When I first started learning timelapse photography I made a lot of mistakes. Everything from, bumping the tripod, to messing up my exposure during a “day-to-night” timelapse. I knew nothing about what intervals to use or how to wrap my brain around a new way of working. It was tough but it also was the best thing that could have ever happened to me!
I was so humbled by my failures, and rather than be discouraged, I was actually inspired to get better. The more I failed, the more growth I was seeing with each new timelapse I captured. I suddenly had a renewed passion for photography and It was my failures that pushed me to grow, not my successes.
I learned to trust my camera more
For my architecture photography I would often do a lot of exposure blending to achieve my final image but for timelapse I was often trying to get as much dynamic range as possible out of a single raw file. This taught me to trust my camera more. There were situations where I would often under expose my images by 2-3 stops in order to protect my highlights from blowing out and I was shocked at just how much information I was able to bring back. This really taught me to trust my raw files more and that I could push them a lot harder then I had been doing in the past.
Be mindful of your aspect ratio
At full resolution My Canon 5D mkIV captures in a 2x3 aspect ratio. For my Griffith project I wanted a 2:35 aspect ratio so I needed to make sure I composed my timelapses wide enough knowing that the top and bottom of the frame would be cropped out of the final video.
I learned the skills I developed in other types of photography helped a ton.
Even though I was creating moving images rather than still images my composition skills still played a huge role in making this film successful. Using the skills I developed as an architecture photographer; things like keeping my verticals straight, using leading lines, diagonals, and foreground interest still applied to timelapse photography. In fact I would say they were even more important to get right because once my timelapse sequence was started there was no changing my composition while the time lapse sequence was running. This forced me to really think through my shots before starting each timelapse which in the end made me a better photographer.
I learned the Post Processing workflow takes a lot more time and has a lot more steps than I expected.
As an animation artist I’m use to some pretty complicated shot work, but as a photographer my post production workflow is somewhat simple. I process in lightroom, blend exposures and sometimes use luminosity masks in photoshop, but that is about all. However, to make high quality timelapses there is just a lot more steps involved, something I wasn’t really used to doing at first.
Here are all the steps I would have to go through to finish just a single timelapse shot.
Phew, that is a lot of steps to create a final movie when compared to processing a single raw file in Lightroom.
This gave me a ton of respect for timelapse photographers who do this everyday. Their work is WAY harder than people realize and the good ones deserve a lot of credit for the amazing work they create. Respect!
I learned that your interval and shutter speed play a big role in creating smooth timelapses
When I was first learning, I didn’t pay much attention to my shutter speed but mainly concentrated on picking a good interval but it turns out they are both really important. I found over time that the shorter the interval the better and the longer the shutter speed the better. This provides the best combination of captured frames and motion blur. This is particularly important when people are moving around in your shot and you need them to blur a bit. If you use this formula, you will have better motion blur and your timelapses will look more pleasing.
Short interval + Long shutter speed = smooth timelapses.
Intervals that worked best for me.
Clouds: 2-8 seconds
People: 2 seconds with a .05 second shutter speed
Day to Night: 6-8 seconds
Milky way: 30-35 seconds
Night time: 6-12 seconds
It all comes down to having a good story to tell.
Working on animated feature films has taught me that for any good film project to succeed it all comes down to having a good story. In my case I wanted to tell the story of “a day in the life” of the observatory while celebrating the building’s amazing architecture. As time went on and I started to capture my timelapses I also noticed just how many people visit the observatory on a regular basis so I wanted to include that aspect as well. Furthermore, I wanted my film to feel celebratory of the beautiful city I live in, Los Angeles, and encourage people to get out there and enjoy it.
In Conclusion:
Making this film renewed my creativity for photography and filmmaking and I hope these tips can inspire you to take a risk and learn something new. There is truly no better way to grow as a photographer than by failing while pursuing new challenges. It is my hope that you will be inspired to do the same.
What are some areas of photography or filmmaking that you have tried that really helped you grow? I would love to hear about them in the comments below.
Image Gallery:
